Structural Carpentry — Partition Walls
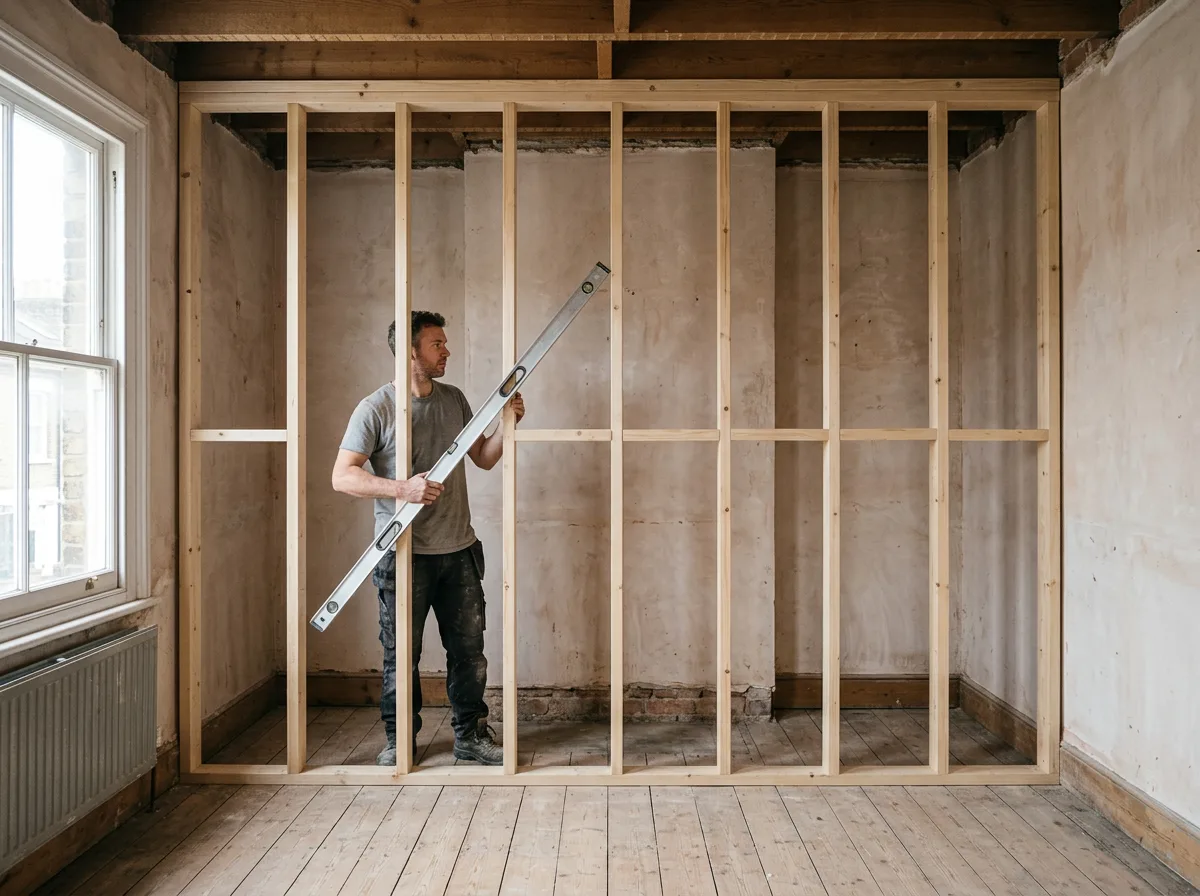
A Precisely Framed Timber Stud Partition Wall
Head plate, sole plate, studs and noggins — a new internal partition built plumb, square, and ready to carry the load of boarding, doors and daily life.
Local to Berkshire
Experienced Carpenters
32 years in the trade
Fully Insured
High-Quality Finish
The Brief
A New Wall, Built to Carry Real Life
This is the kind of structural carpentry project we take on regularly across Berkshire: a room divided in two, a hallway reshaped, or an opening closed off with a brand new internal stud wall. The brief is rarely glamorous — nobody admires a partition wall once it is boarded, skimmed and painted — but everything that follows it, from a straight plasterboard finish to a door that hangs true for years, depends on the frame underneath being built correctly the first time.
The real craft in a job like this is in what cannot be seen once the work is finished. A wall that is a few millimetres out of plumb at head height, or studs set to the wrong centres, will cause problems for every trade that follows — the plasterer, the electrician, the person hanging a door. Getting the setting-out right before a single stud goes in is what separates a wall that simply stands up from one that is actually built to specification.
Whether the wall is dividing a bedroom, closing off a hallway, or forming part of a larger renovation, the approach is the same: confirm the line, check the structure above and below it, and build the frame so that everything else — insulation, boards, skirting, a hung door — goes in cleanly and stays that way.
This page illustrates the type and standard of structural carpentry work we carry out — not a specific named address or client. Every project is scoped and quoted individually after a free site visit.
The Process
From Marked Line to Finished Frame
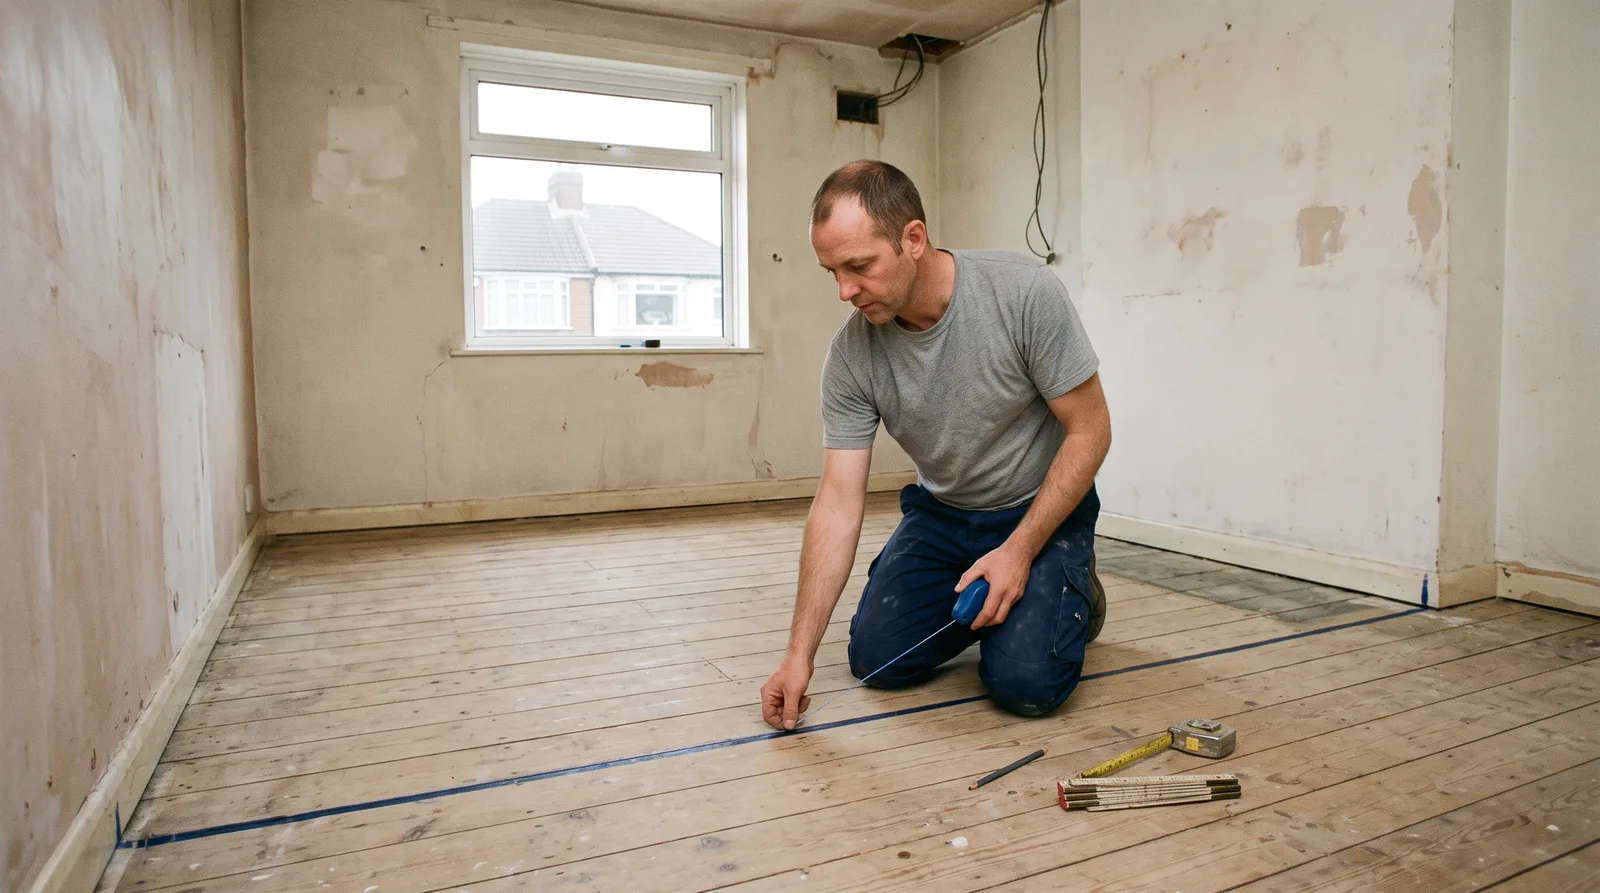
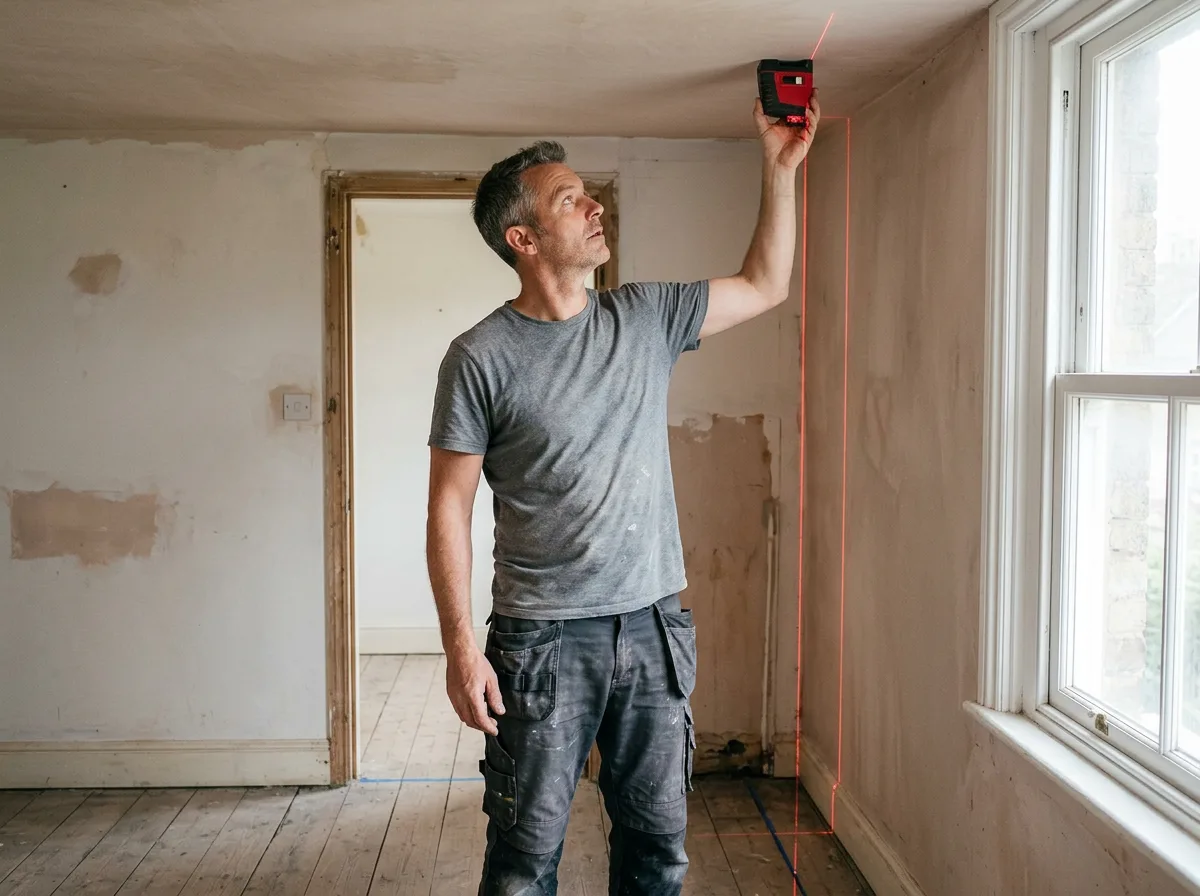
Every partition starts on the floor, not with a saw. The proposed wall line is measured, squared off the existing walls, and marked out with a chalk line, then transferred up to the ceiling with a laser level to confirm the two lines sit dead plumb above one another. We also check what is directly above and below the proposed run — joist direction, any services already in the void, and whether the ceiling above offers a solid fixing point — before committing to the exact position.
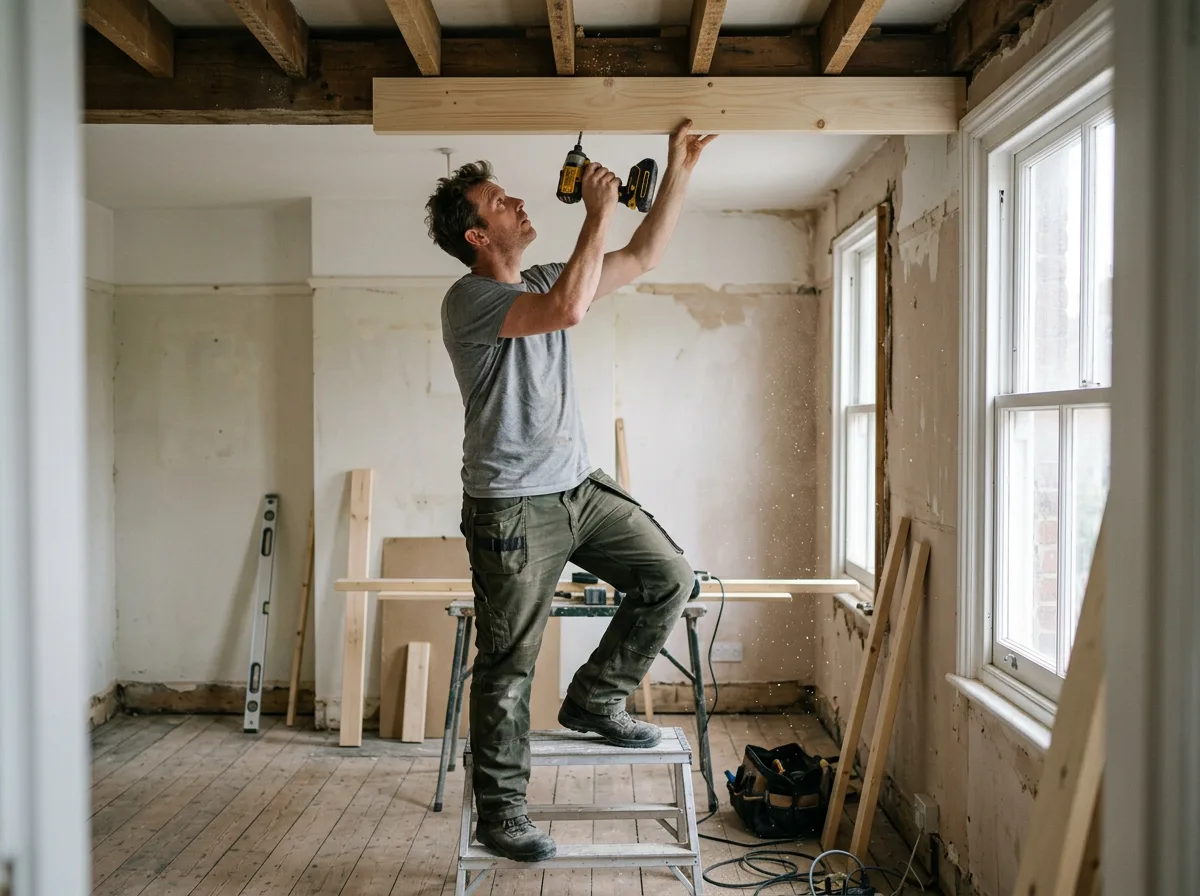
With the line confirmed, the head plate is fixed first, into the ceiling joists or noggins between them rather than relying on plasterboard alone, followed by the sole plate fixed along the floor directly beneath it. These two plates set the whole geometry of the wall, so both are checked for straightness and correct alignment before a single stud is cut.
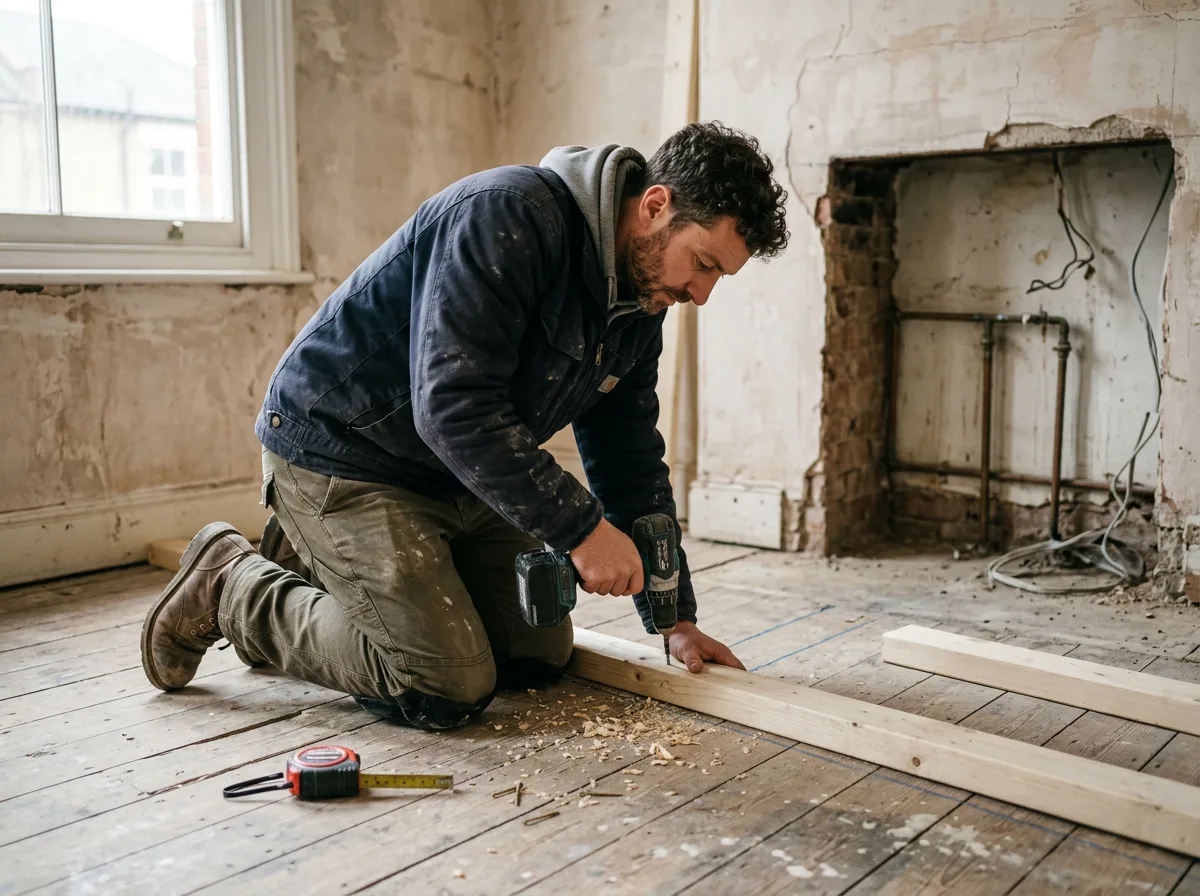
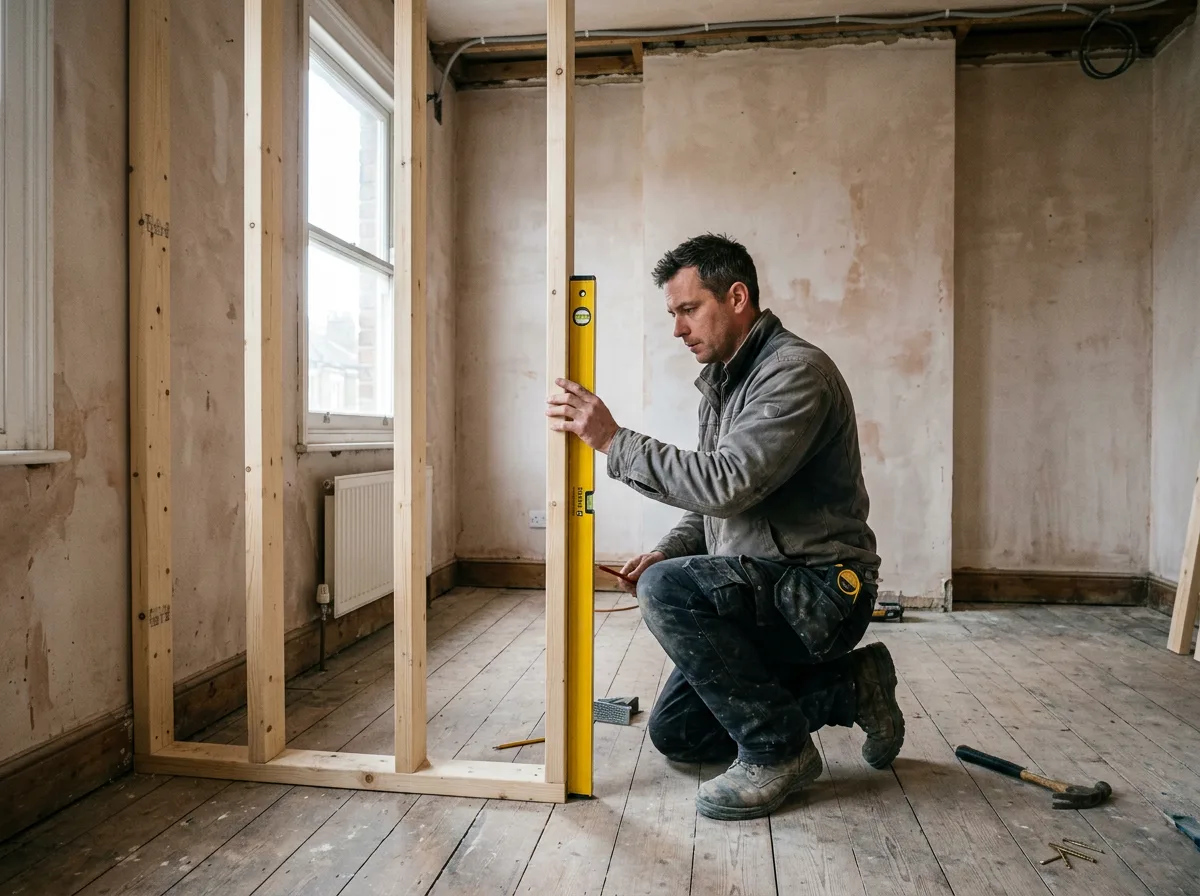
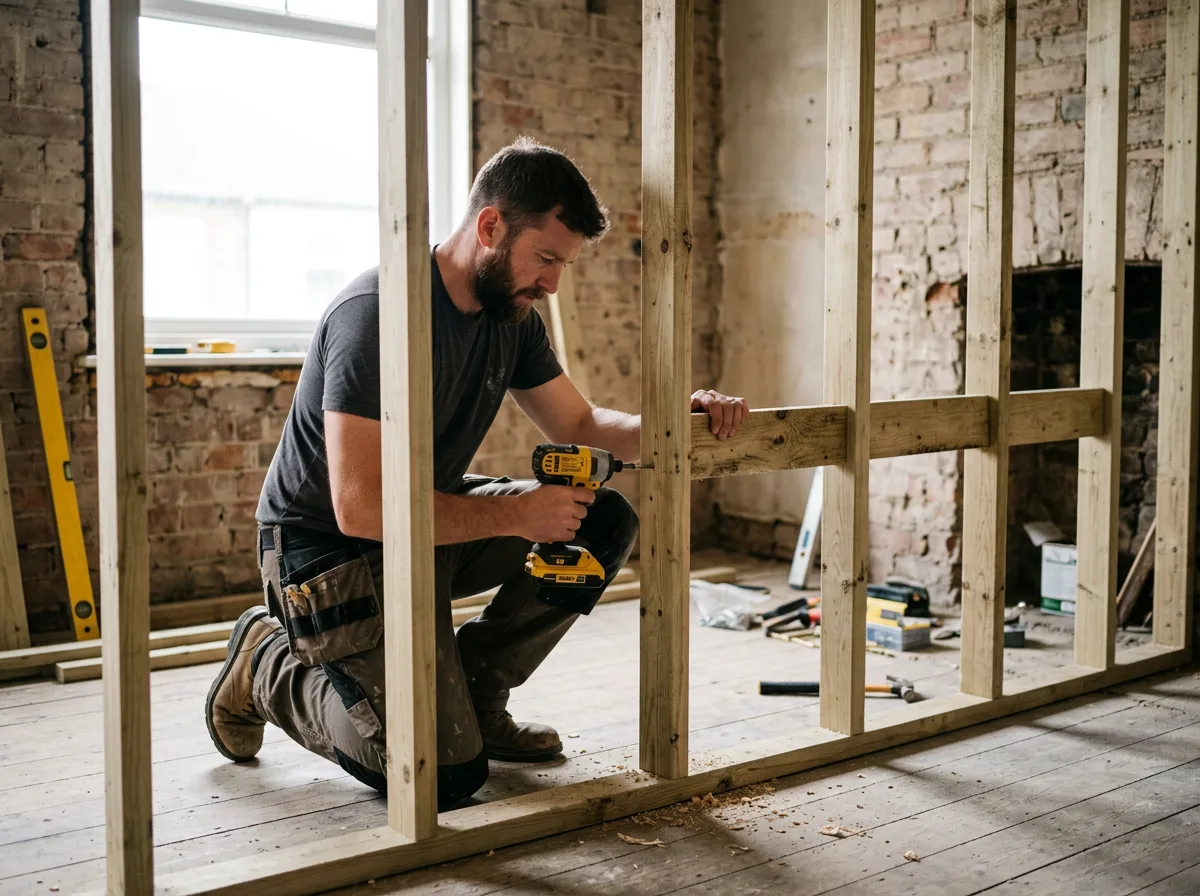
Studs are then cut to length individually — older properties rarely have a perfectly consistent floor-to-ceiling height along a single run — and fixed in at the specified centres, typically 400mm or 600mm to suit standard plasterboard widths, each one set plumb and checked with a spirit level before it is fixed home. Noggins go in between the studs at mid-height, and at any point boards will need to be joined, stiffening the frame and giving a solid line to fix to. The finished frame is checked for square along its full height and width before we call it ready for the next trade.
The Work, Step By Step
A Closer Look
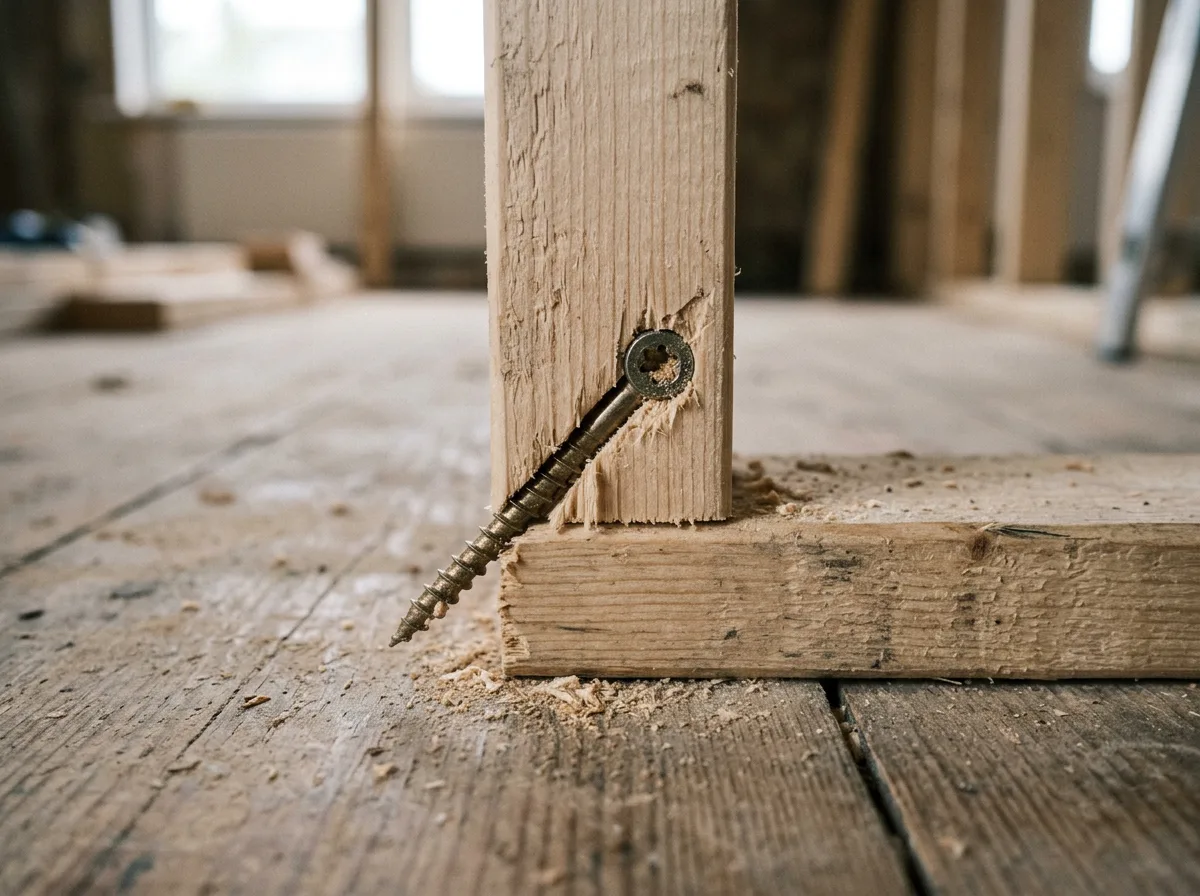
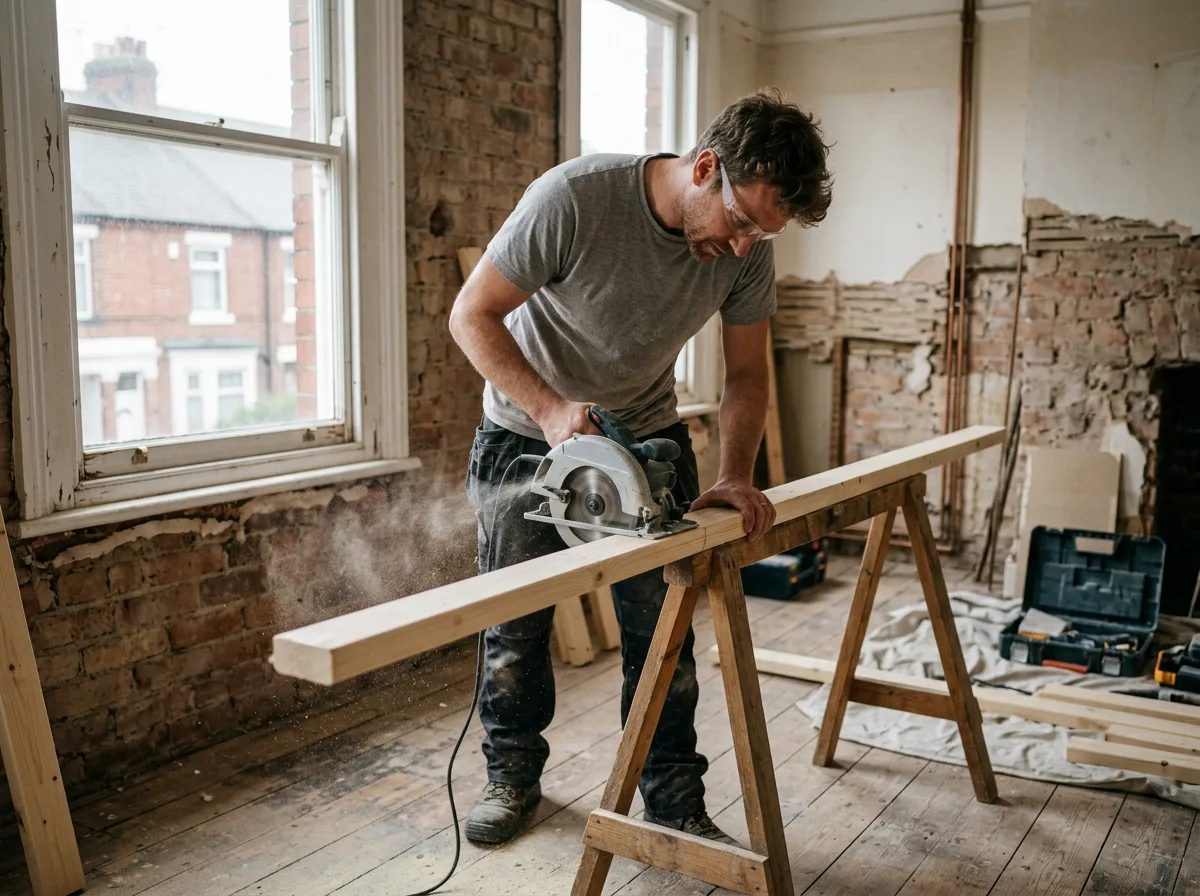
A closer look at the setting-out and framing involved in building a new internal stud partition wall.
Specification
Materials & Approach
- 75mm x 50mm (3"x2") C16-graded structural softwood used for head plate, sole plate and studs
- Studs set at 400mm or 600mm centres, chosen to suit standard 1200mm plasterboard sheet widths without excessive cutting
- Noggins fitted horizontally between studs at approximately mid-height, and at any point boarding is to be joined, stiffening the frame and giving a solid fixing line
- Studs and plates jointed and fixed with structural timber screws or nails, with packers used to true the frame against any existing out-of-plumb walls or ceilings
- Head plate fixed into ceiling joists or noggins between them, and sole plate fixed into the floor structure below — never relying on boarding or skirting alone to hold the frame
Common Questions
Stud Partition Walls — Frequently Asked Questions
Is a new stud wall load-bearing or non-load-bearing?
The large majority of new internal partitions are non-load-bearing — they simply divide a room and carry their own weight plus whatever is fixed to them. Occasionally a partition is asked to pick up a point load from above, in which case it is built to an engineer’s specification rather than standard stud sizing. We confirm which category your wall falls into during the free site visit, before any timber is ordered.
How do you run electrics or plumbing through a new partition?
Cables and pipework are run through holes drilled or notched into the studs at the correct position and depth before the wall is boarded, in line with the relevant wiring and plumbing regulations, and coordinated with your electrician or plumber so sockets, switches and pipe runs land exactly where they are needed. Doing this before boarding means nothing has to be chased into a finished wall afterwards.
Does a new stud partition need Building Control sign-off?
A simple, non-load-bearing partition in a domestic house is usually straightforward and does not typically need a Building Regulations application on its own. Where the wall affects fire escape routes, incorporates a fire door, or forms part of a wider structural change, Building Control involvement may well be needed — we flag this clearly as part of your quote rather than leaving it as an assumption.
How long does the framing take before boarding can start?
A single standard partition wall is typically a one-day job for marking out, plates, studs and noggins, assuming reasonable access and no unexpected services in the way. A longer run, multiple walls, or a wall carrying a door opening usually takes a day or two. Boarding, taping and finishing are quoted and scheduled separately once the frame is up and has been checked.
What timber do you use, and why does stud spacing matter?
We use C16-graded structural softwood sized to the span and loading of the wall, most commonly 75mm x 50mm sawn timber for plates and studs. Stud centres are set at 400mm or 600mm, chosen to suit standard 1200mm plasterboard sheet widths — getting this right means boards land cleanly on a stud edge rather than needing awkward cuts and extra noggins to make up the difference.
Can a new partition wall go anywhere, or are there limits on where it sits?
Mostly yes, but the direction of the floor joists below and ceiling joists above matters — a wall running parallel to the joists usually needs extra noggins or a doubled joist to carry it, while one running across the joists generally does not. Door openings, services already in the floor void, and any point loads from above are all checked before we confirm the exact line of the wall.
Do you insulate or soundproof new partition walls?
It is not required structurally, but it is a simple and worthwhile addition — acoustic mineral wool batts fitted between the studs noticeably reduce sound transfer between rooms, which matters most for home offices, bedrooms, and walls next to a bathroom or plant room. We can price this as an option once we know how the room either side will be used.
Do you offer a guarantee on structural carpentry work like this?
Yes — all our structural carpentry, including stud partition framing, is covered by our standard workmanship guarantee, with the details confirmed in writing as part of your quote. If a frame were ever to move or a joint work loose under normal use, we would come back and put it right.
Related Projects
More Structural Carpentry
Elegant New Floor Joists, Installed to Last
New timber floor joists installed to span and spacing specification, built to carry the floor above for decades.
Trimmer Joists, Framing a Perfect Stair Opening
A new stair opening framed with trimmer joists, carrying the load around the gap exactly as it should.
A Graceful Spliced Repair to a Structural Joist
A damaged structural joist repaired with a spliced timber section rather than a full, disruptive replacement.
Get Started
Request a Free Quote for Your Partition Wall
Need a New Stud Wall Built Properly?
From a single partition to a full room reconfiguration, we build frames plumb, square and ready for the next trade. Get a free quote or arrange a site visit.