Loft Conversion Carpentry
A Dormer Front Wall, Framed and Braced to Last
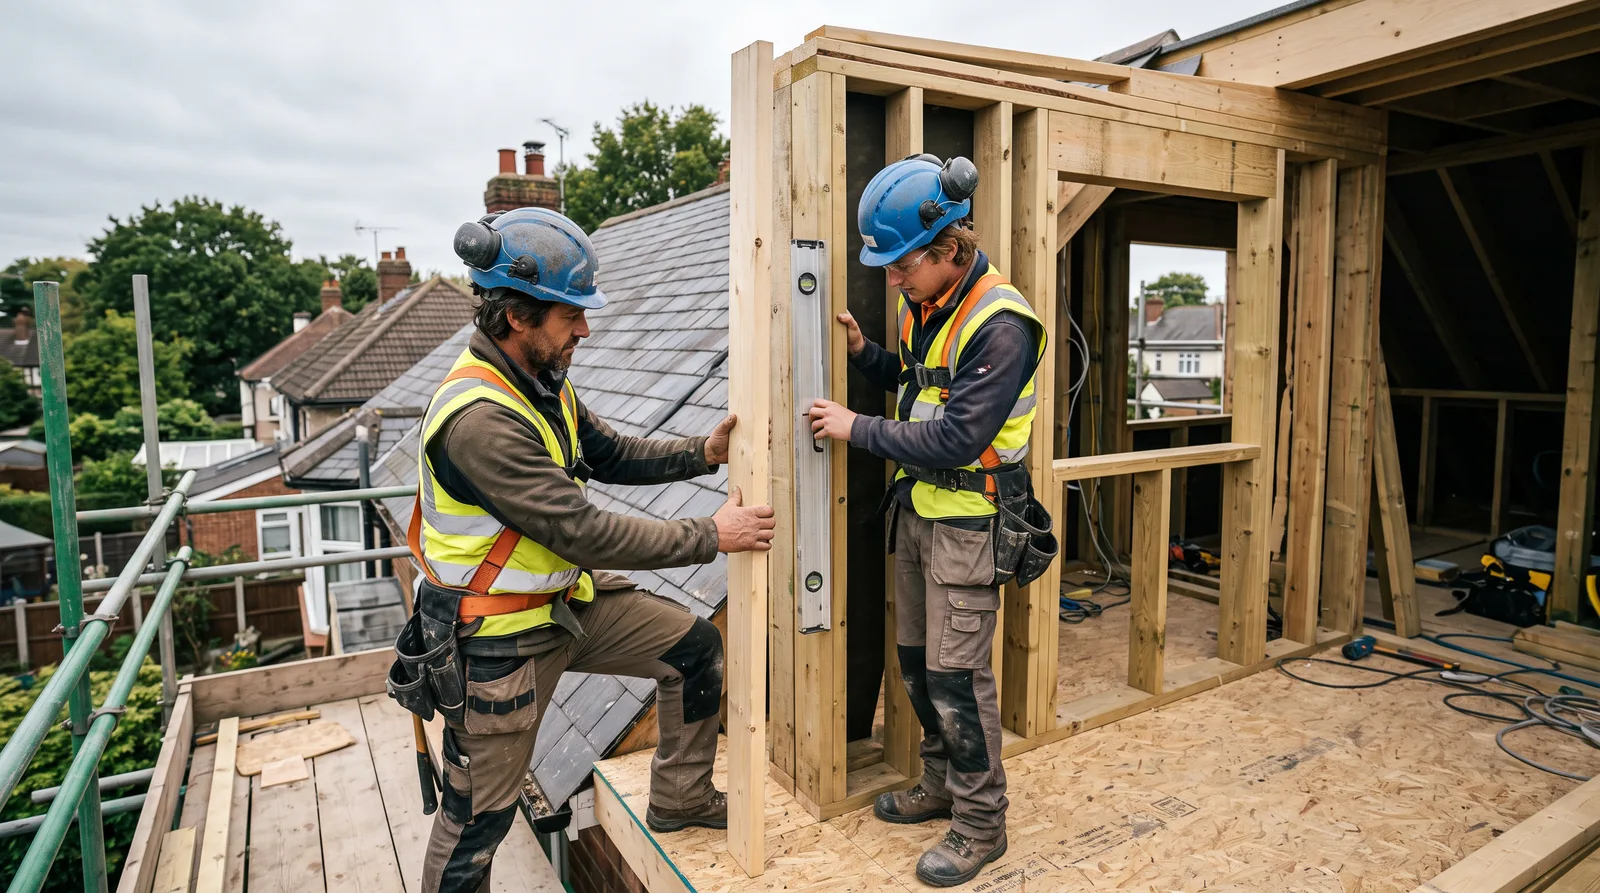
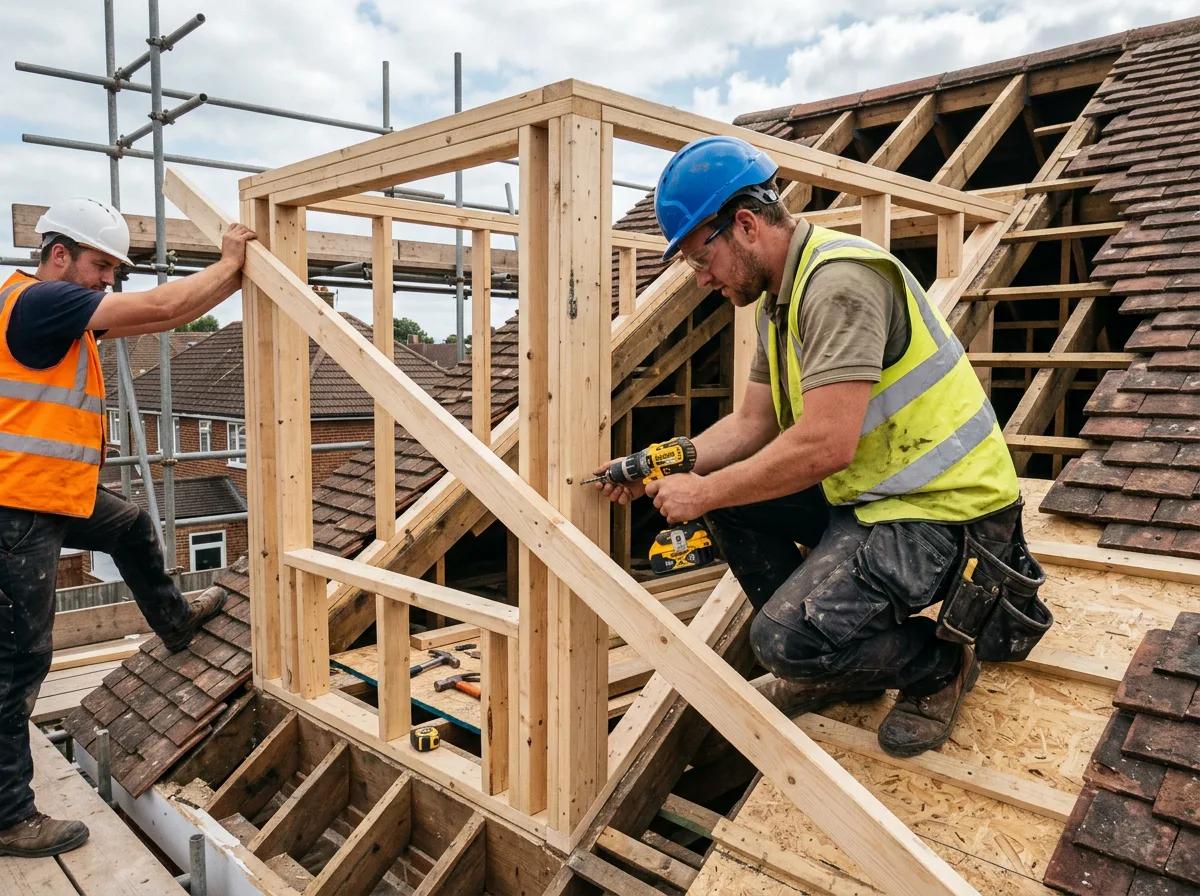
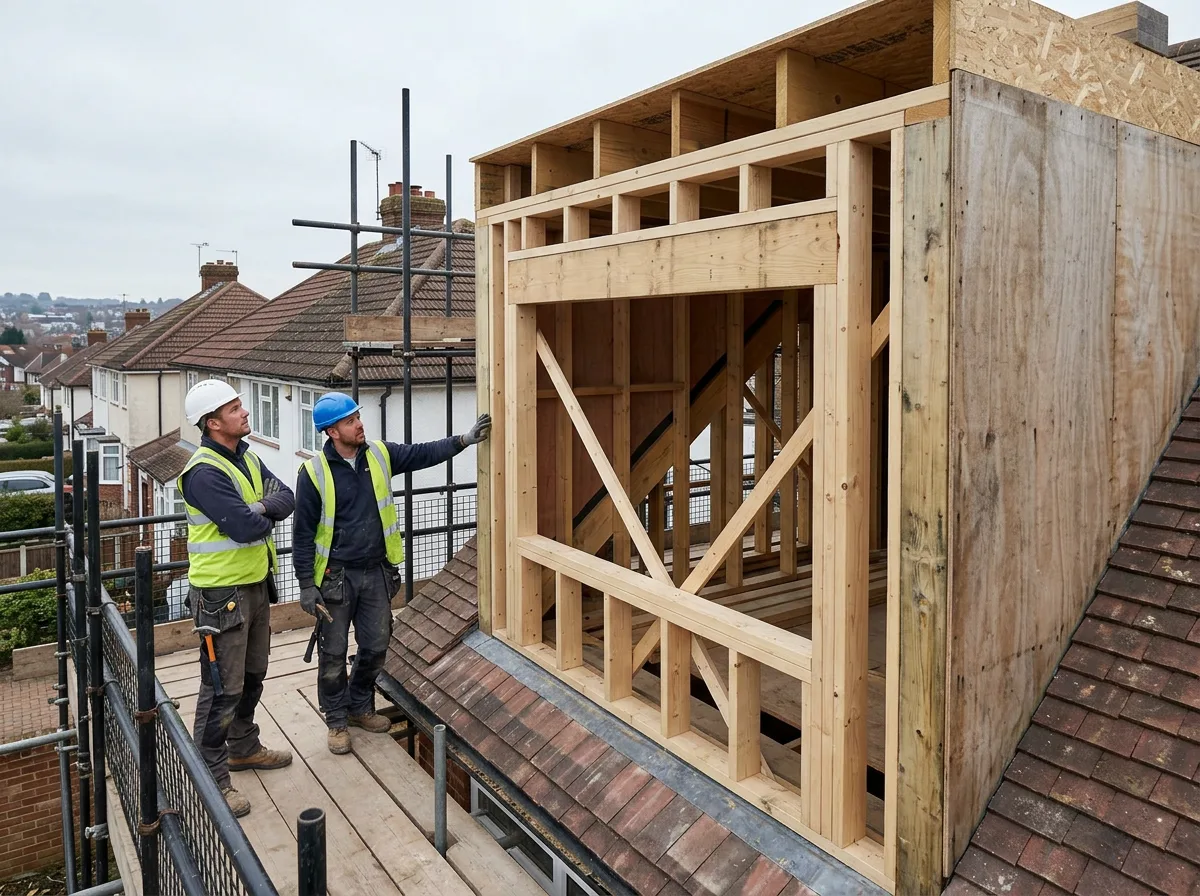
The front wall of a dormer, framed between the cheek frames with its window opening built in, and braced rigid until the roof arrives to tie the whole structure together.
Local to Berkshire
Experienced Carpenters
32 years in the trade
Fully Insured
High-Quality Finish
The Brief
The Wall That Gives a Dormer Its Face
This is the kind of loft conversion carpentry we carry out regularly across Berkshire: a dormer front wall, framed between two already-standing cheek frames, with a window opening built into it from the very first stud rather than cut into a finished wall afterwards. It is the stage at which a dormer stops being two separate side frames and becomes a recognisable structure — the part that will, eventually, carry glazing and face out over the garden.
The front wall is also where structure and daylight have to be reconciled properly. Every stud, trimmer and lintel is doing real work, carrying load down into the cheek frames either side, while still leaving exactly the opening the window specification calls for — not an approximate gap, but a precisely sized and properly supported one. Getting this balance right the first time avoids a far more disruptive correction once the roof is on and the opening can no longer be easily adjusted.
Until the roof structure arrives to tie everything together, a front wall standing on its own has no inherent rigidity, which is why bracing is as much a part of this stage as the framing itself. The wall has to stand plumb, square and solid under its own bracing for as long as it takes to complete the roof above it.
This page illustrates the type and standard of loft conversion carpentry work we carry out — not a specific named address or client. Every project is scoped and quoted individually after a free site visit.
The Process
From First Stud to a Braced, Square Frame
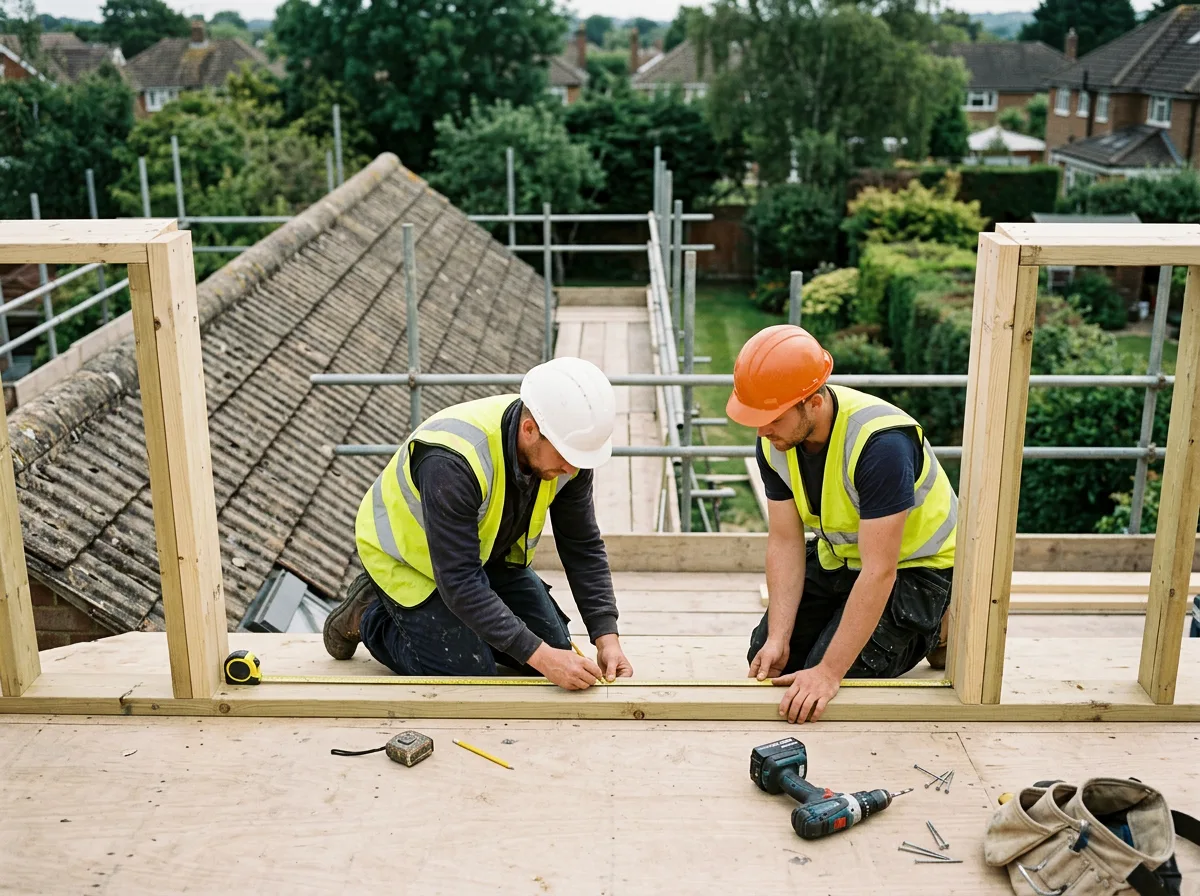
Framing begins with the sole plate, set out precisely between the two cheek frames so the front wall ties into both at the correct width and position. Studs are fixed up from there at the specified centres, with trimmer studs introduced either side of the window opening at exactly the width the glazing specification calls for. A lintel is fitted across the top of the opening, sized to carry the load that the studs it displaces would otherwise have carried, so the opening is a properly engineered feature of the wall rather than a weak point in it.
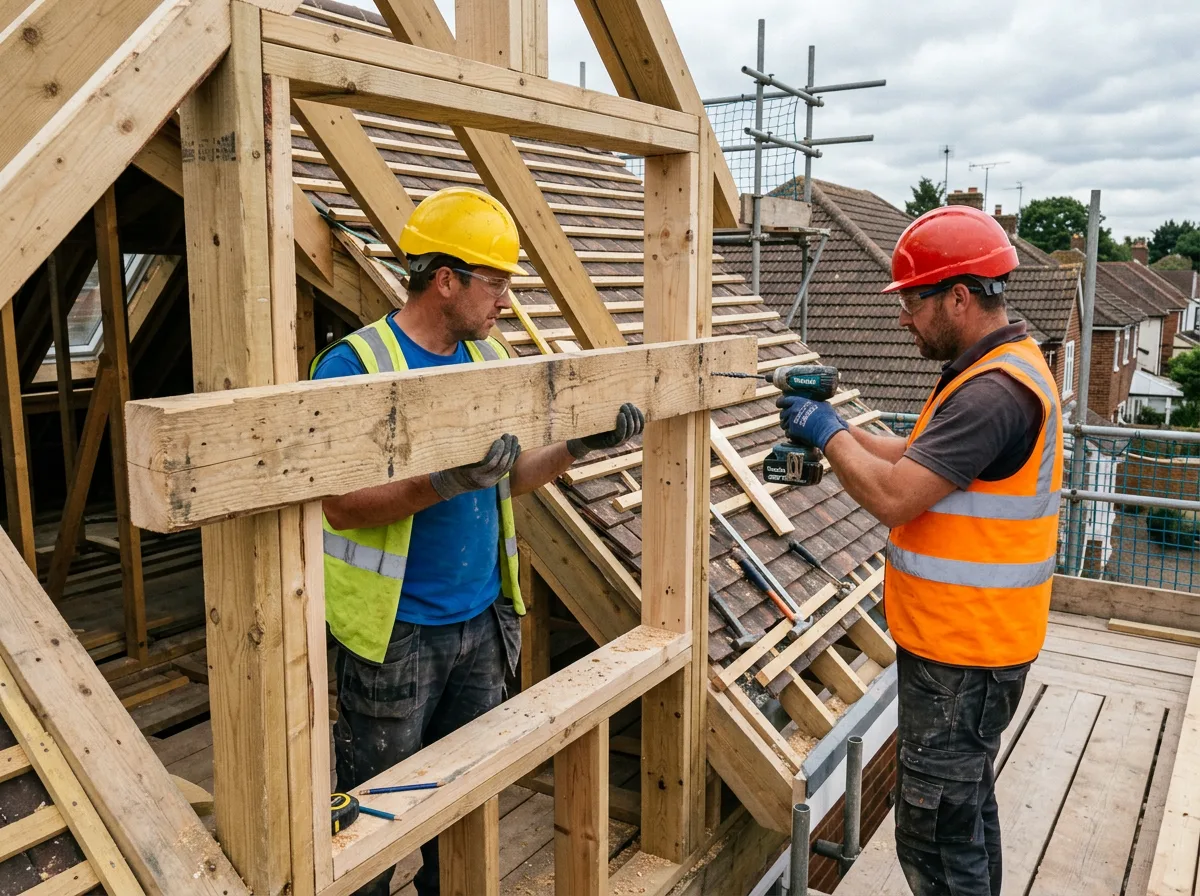
As the frame rises, diagonal bracing goes in alongside it, not as an afterthought once the studs are all up but as each section is completed. A loft conversion roof is an exposed place to leave a stud frame unsupported, and bracing is what stops the wall racking sideways under wind or simply under its own handling while the remaining structure is built around it. The bracing stays fixed in place until the roof structure above ties the front wall, both cheek frames, and the rest of the dormer into one single, mutually supporting structure.
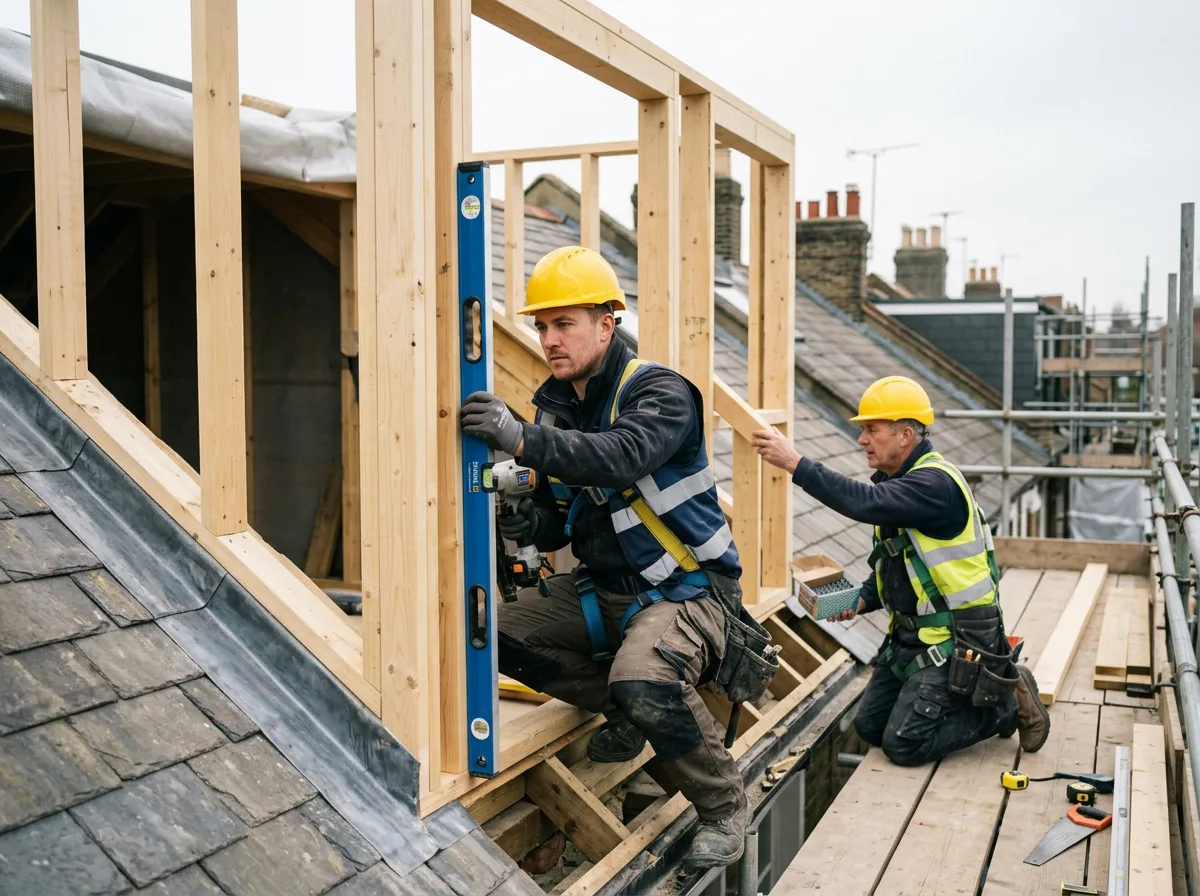
Throughout, the frame is checked repeatedly rather than once at the end: plumb on every stud, diagonal measurements compared across the window opening to confirm it is square, and the whole wall checked against the cheek frames either side to make sure it reads true to the structure it is joining rather than just internally consistent on its own. Only once all of that is confirmed does the front wall stand ready for the roof to go on above it.
The Work, Step By Step
A Closer Look
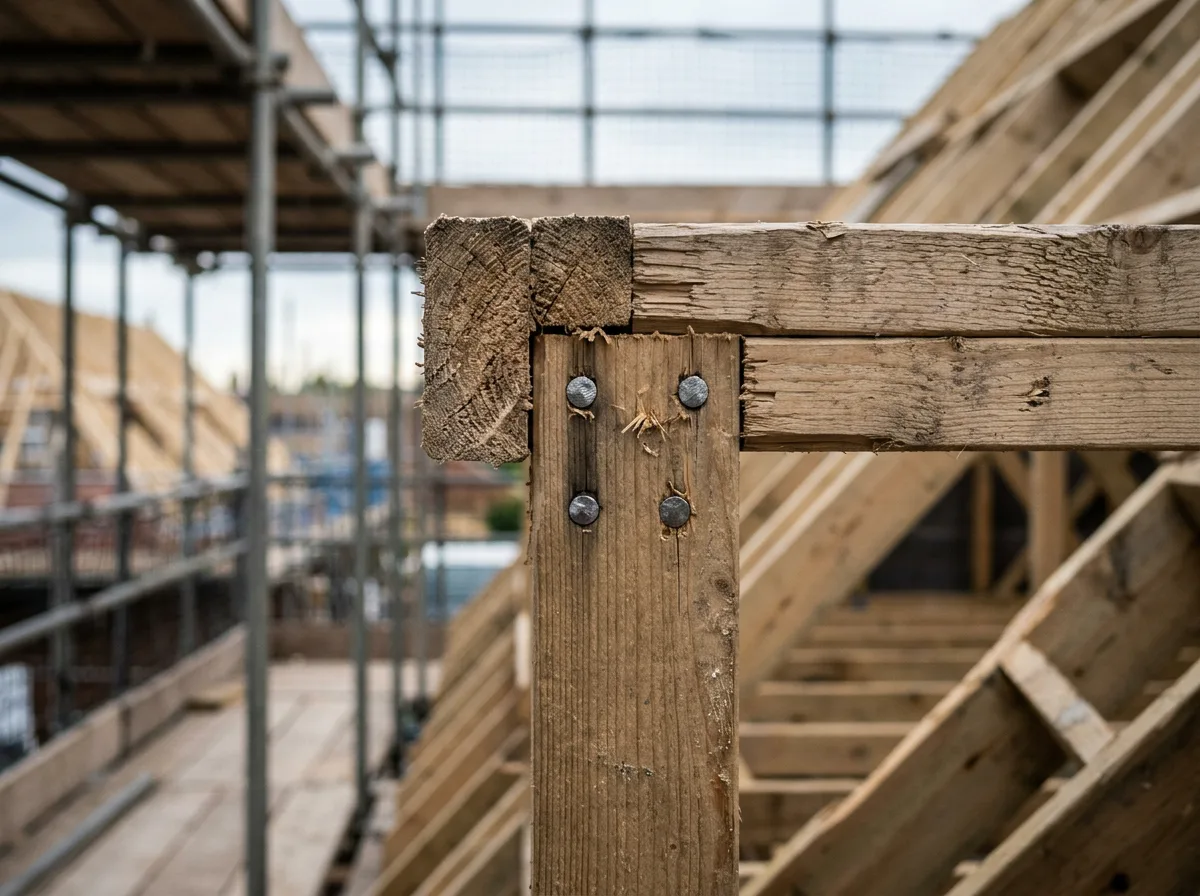
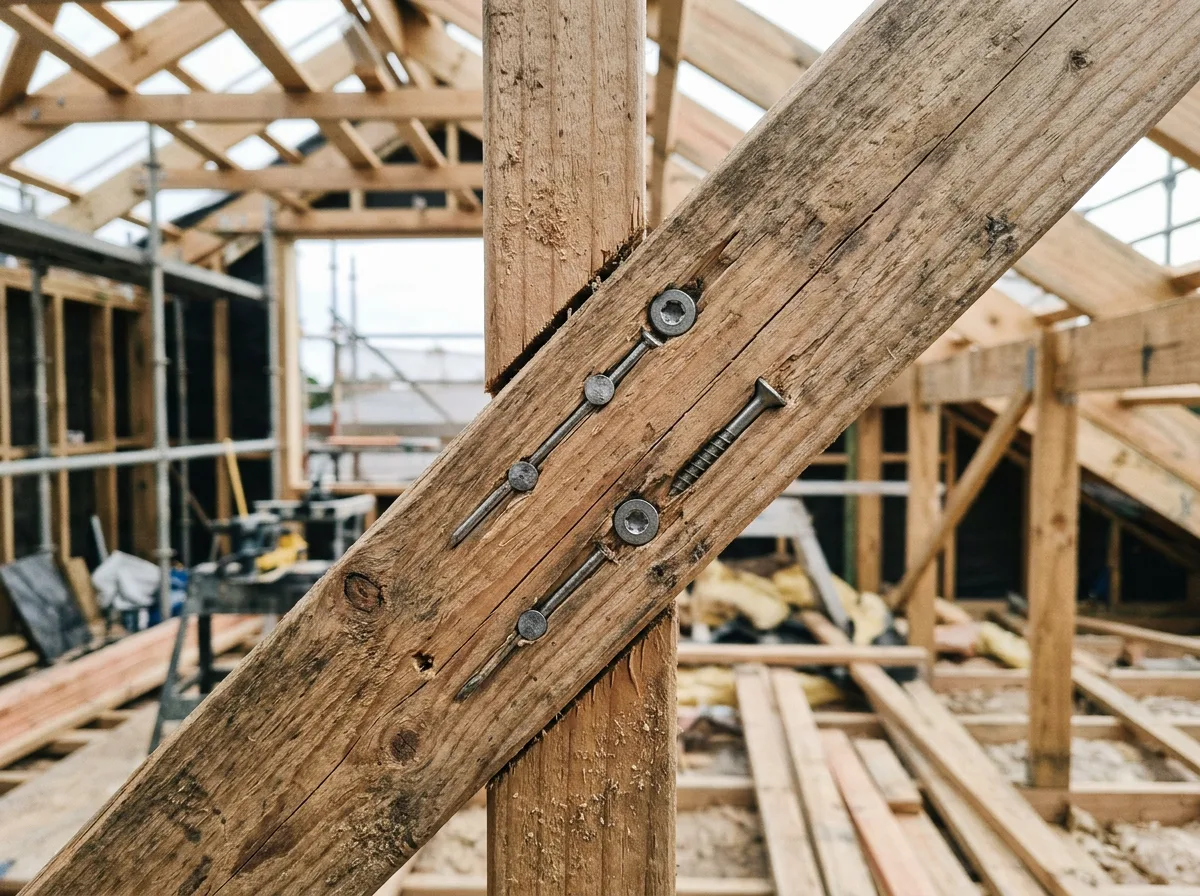
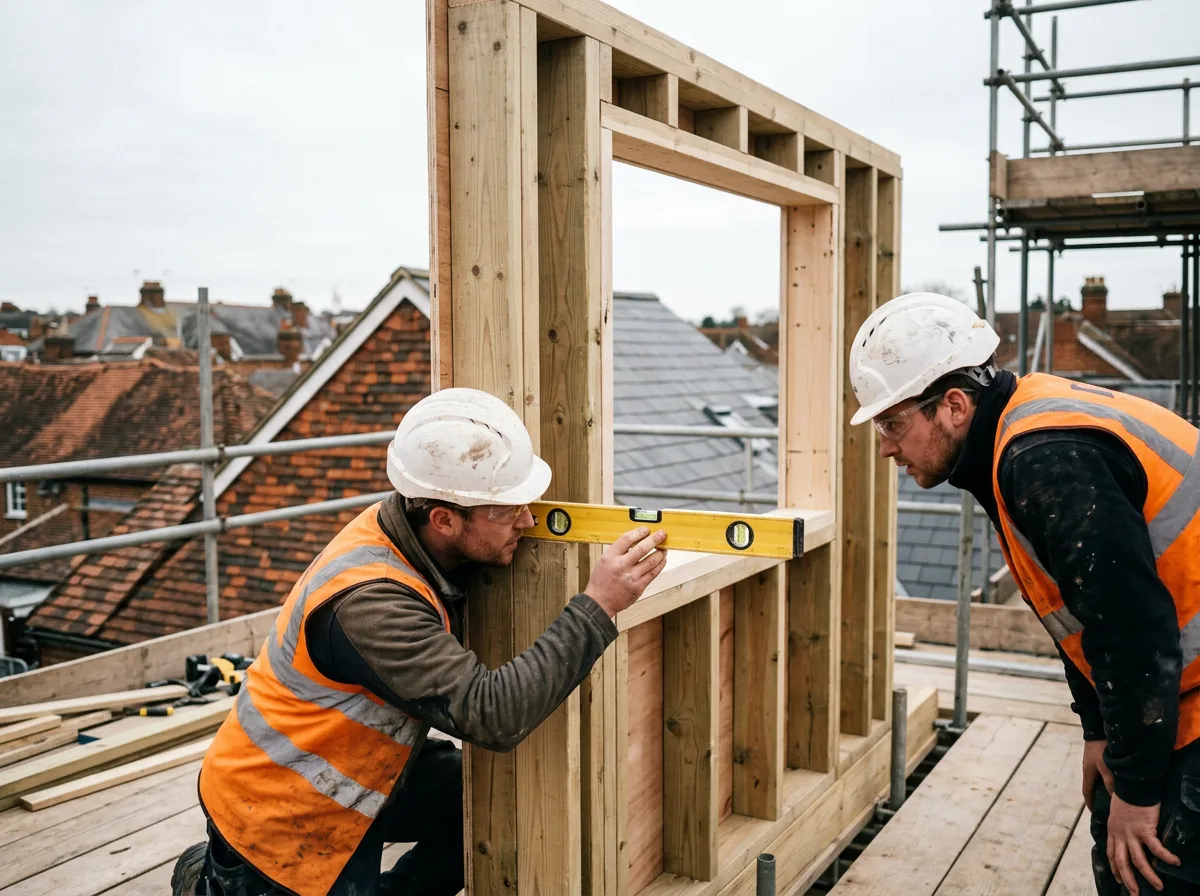
A closer look at framing, bracing and checking a dormer front wall between two cheek frames.
Specification
Materials & Approach
- Front wall studs sized and centred to the structural specification for the dormer, not a standard off-the-shelf assumption
- A window opening framed with trimmer studs and a lintel sized to carry the load the opening displaces
- Diagonal bracing fixed across the frame as it is built, left in place until the roof ties the structure together
- The front wall set out and checked directly against both cheek frames, not to a measurement taken in isolation
- Plumb, level and diagonal checks carried out at each stage of framing, not only once the wall is complete
- No structural calculations assumed on site — framing follows the approved specification for the project
Common Questions
Dormer Front Wall Framing — Frequently Asked Questions
How is the window opening in a dormer front wall framed?
A trimmer stud is set either side of the opening at the width the window requires, and a lintel is fitted across the top, sized to carry the load that would otherwise have passed through the studs it replaces. The studs below the opening, and the head of the frame above it, are all tied into this lintel and trimmer arrangement so the opening behaves as one properly engineered unit rather than a gap cut into a finished wall after the fact.
Does the front wall carry any roof load?
Yes, once the roof is tied in. The front wall sits between the two cheek frames and, together with them, forms the structural box that the dormer roof bears onto. That is exactly why the lintel over the window opening has to be sized correctly and why every stud is fixed properly — this is not simply a non-structural partition dressed up to look like a wall, it genuinely carries load.
How is the front wall braced before the roof is on?
Until the roof structure is fixed in place, a stud frame standing on its own on a loft conversion roof has no inherent resistance to racking — it will lean under a sideways push. We fix diagonal bracing across the frame as it goes up, holding it rigid and square while the window opening, cheek connections, and any remaining studs are completed. The bracing stays in place until the roof ties the whole structure together permanently, at which point it has done its job.
Can the window size be changed once framing starts?
Within reason, yes, but it is far better to confirm the window size before the first stud goes up. Once the lintel and trimmer studs are fixed to a specific opening width, enlarging it means cutting out and re-fitting a correctly sized lintel rather than a simple adjustment, and that costs time on site. Any change is always possible — we would simply rather agree the opening size once, at the quote stage, than revisit it mid-build.
How do you check the front wall is plumb and square?
A spirit level against each stud confirms plumb, and the frame is checked against both cheek frames either side to confirm it reads square and true to the rest of the structure, not just internally consistent on its own. Diagonal measurements across the frame opening are also checked against each other — if they match, the frame is square. We check this at several stages as the wall goes up, not just once at the end.
What happens if the existing cheek frames are slightly out of true?
This is exactly why the front wall is checked against the cheek frames rather than built to a measurement taken in isolation. If a cheek frame has a small amount of movement in it, the front wall is set out to tie in correctly with what is actually there, rather than what the drawings assumed, so the finished structure is square and consistent even if an earlier stage needed a small correction.
How long does framing a dormer front wall typically take?
A single front wall, window opening and bracing included, is typically a one to two day job once the cheek frames either side are already standing, weather and access permitting. An accurate time estimate is confirmed on site as part of the wider dormer programme, not guessed from a set of drawings alone.
Do you offer any guarantee on dormer front wall framing?
Yes — all structural carpentry of this kind is covered by our standard workmanship guarantee, confirmed in writing with your quote. Given that this wall carries real roof load once the structure is tied together, getting every stud, lintel and fixing right the first time is exactly where we focus our attention.
Related Projects
More Loft Conversion Carpentry
Spectacular Dormer Carpentry for a Loft Conversion
A dormer structure framed into an existing roof, creating genuine headroom and floor space in a loft.
Dormer Cheek Framing, Tied Elegantly into an Existing Roof
Dormer cheek framing tied cleanly into an existing roof structure, the foundation of a successful dormer.
Trimmed and Doubled Rafters, Framing a Dormer Opening
Rafters trimmed and doubled either side of a dormer opening, carrying the load the opening interrupts.
Get Started
Request a Free Quote for Your Loft Conversion
Planning a Dormer as Part of Your Loft Conversion?
A front wall that is framed, braced and checked properly against the cheek frames is what gives a dormer its strength and its shape. Get a free quote or arrange a site visit.