Loft Conversion Carpentry
Dormer Cheek Framing, Tied Elegantly into an Existing Roof
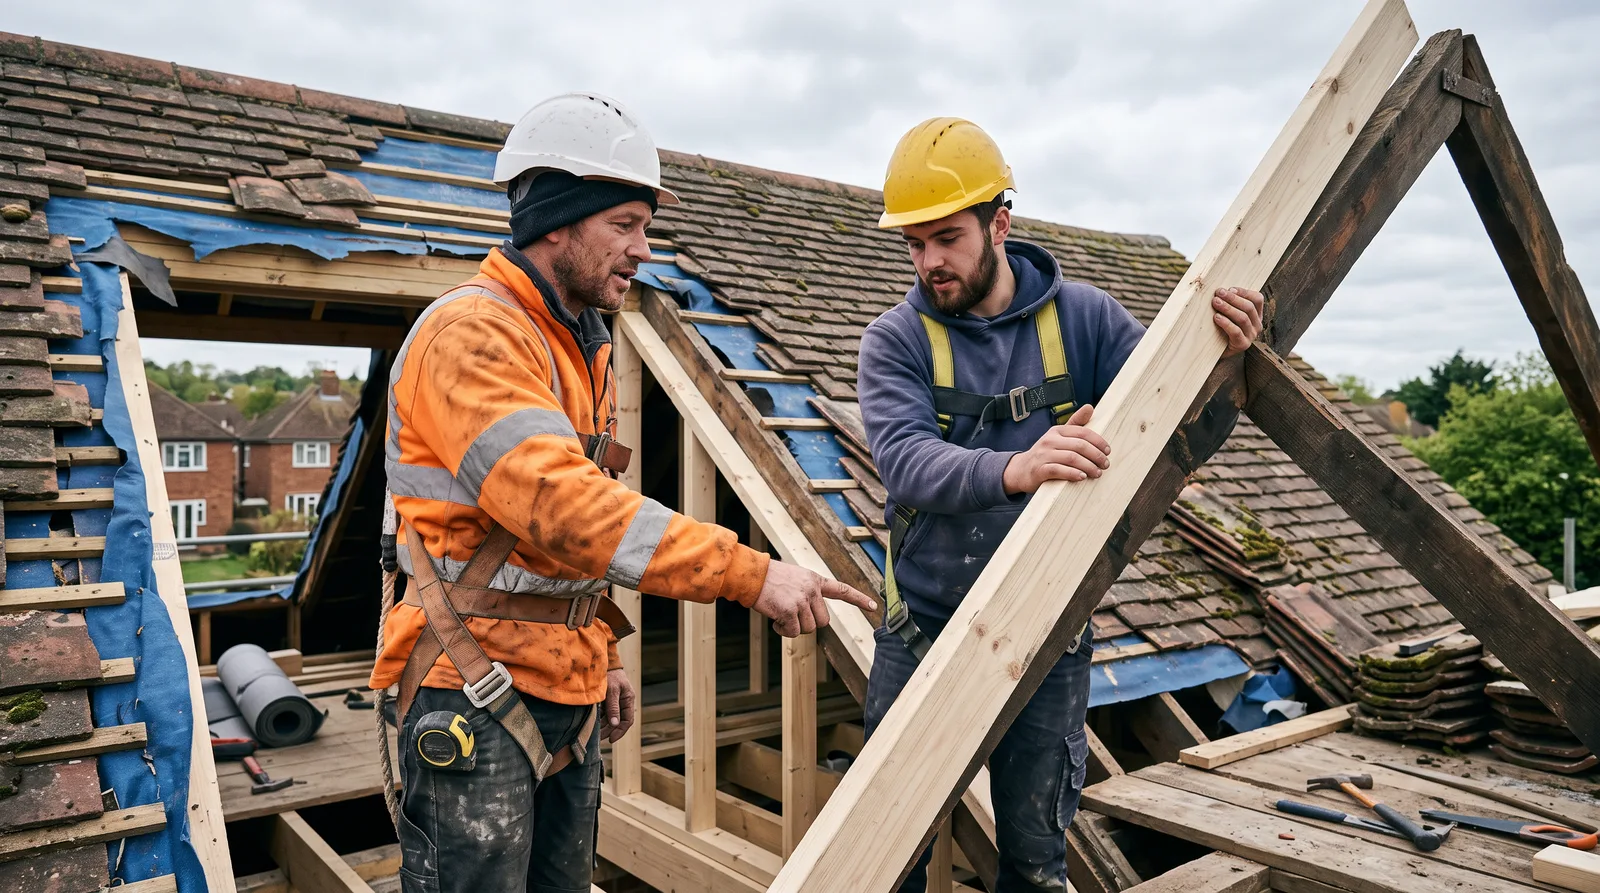
New dormer cheek framing, tied correctly into an existing roof structure, and made weathertight at the one junction that matters most.
Local to Berkshire
Experienced Carpenters
32 years in the trade
Fully Insured
High-Quality Finish
The Brief
Where New Framing Meets an Old Roof
This is the kind of dormer carpentry we carry out regularly across Berkshire as part of a loft conversion: a new dormer cheek, framed and raised, and then tied properly into a roof structure that was never built with it in mind. It is, in many ways, the least glamorous stage of a dormer project — there is no dramatic transformation to photograph here, no finished room to admire — but it is the stage on which everything that follows depends.
The elegance of this work lies entirely in its precision rather than its appearance. A dormer cheek that is framed well and tied into the existing rafters and trimmers correctly will simply disappear into the roof, behaving as though it had always been there. One that is rushed, or merely butted against the old structure without a proper structural connection, announces itself eventually — in a draught, a stain on a ceiling, or worse. We treat this junction with the care it deserves.
That care extends beyond the timber itself to the weatherproofing at the junction, where the single greatest risk in any dormer project lies. New framing, correctly tied in and correctly flashed, is what separates a dormer that performs for decades from one that becomes a recurring source of concern.
This page illustrates the type and standard of loft conversion carpentry work we carry out — not a specific named address or client. Every project is scoped and quoted individually after a free site visit.
The Process
From Marking the Line to a Weathertight Junction
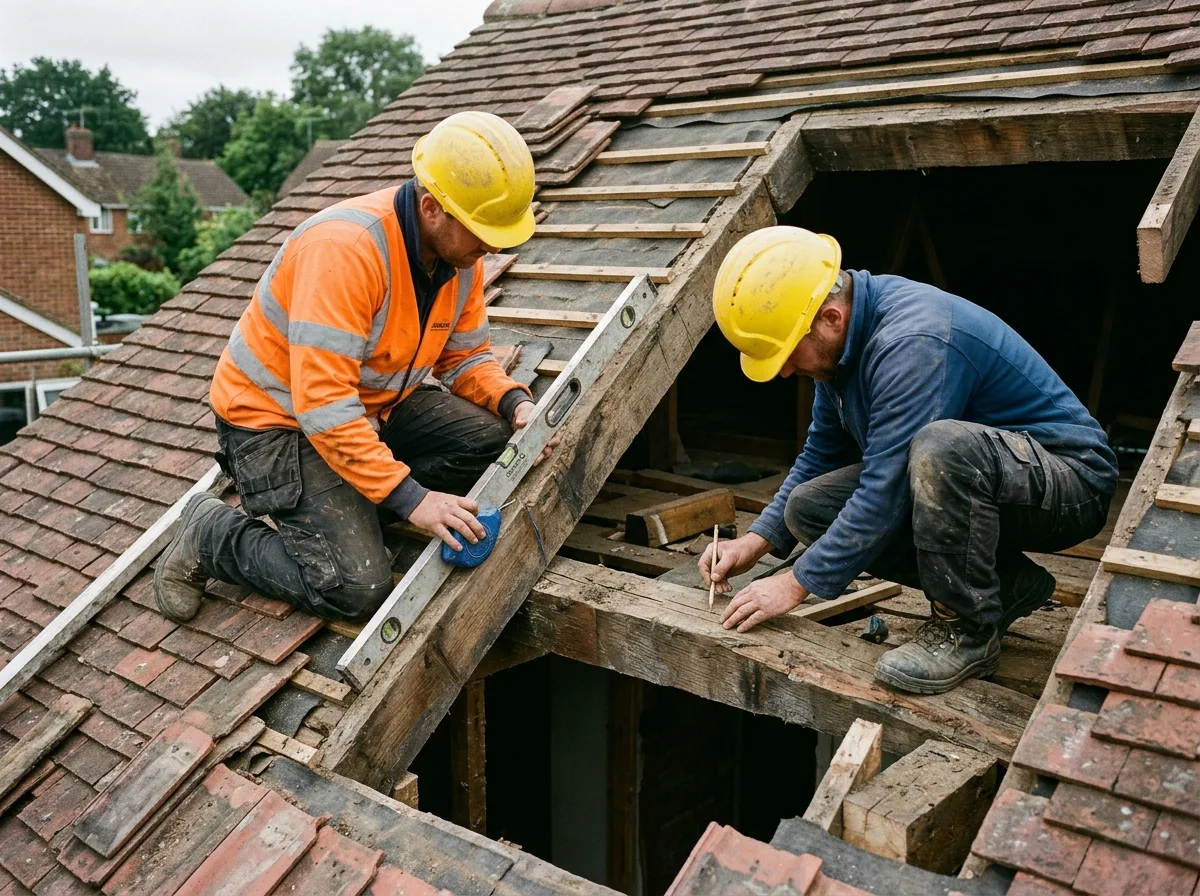
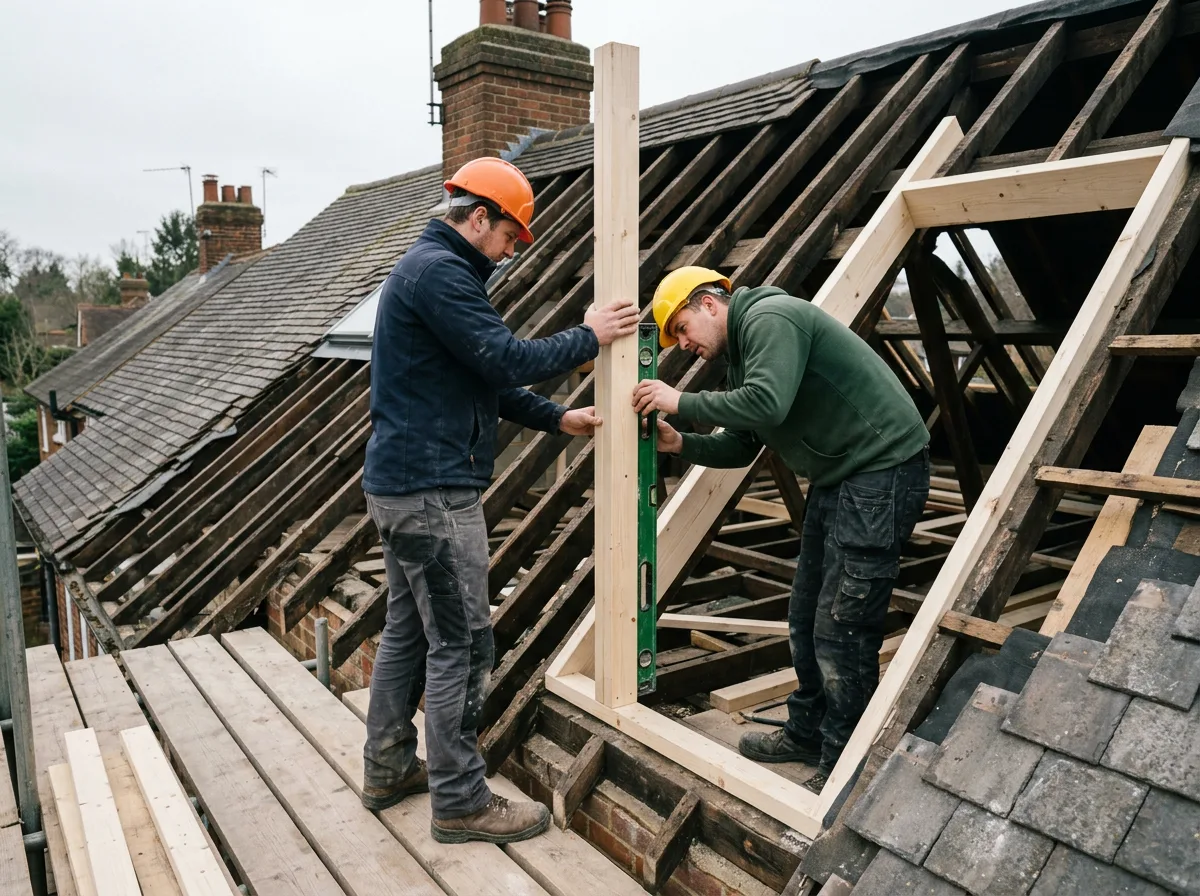
The work begins not with timber but with marking — establishing precisely where the new dormer cheek will meet the existing roof slope, taking into account the pitch of the existing rafters, the position of the structural opening below, and the finished internal dimensions the dormer is designed to deliver. Get this line wrong and every subsequent cut compounds the error; get it right and the rest of the framing follows naturally from it.
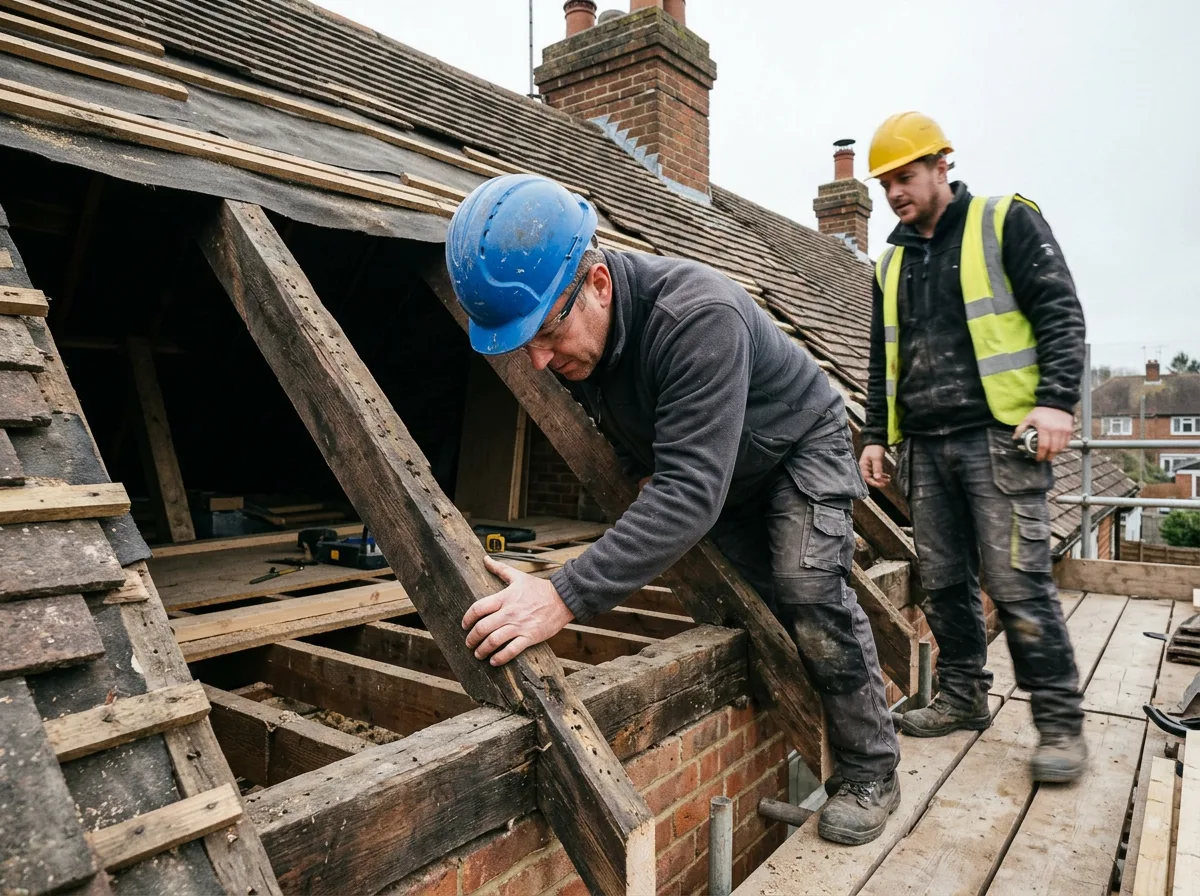
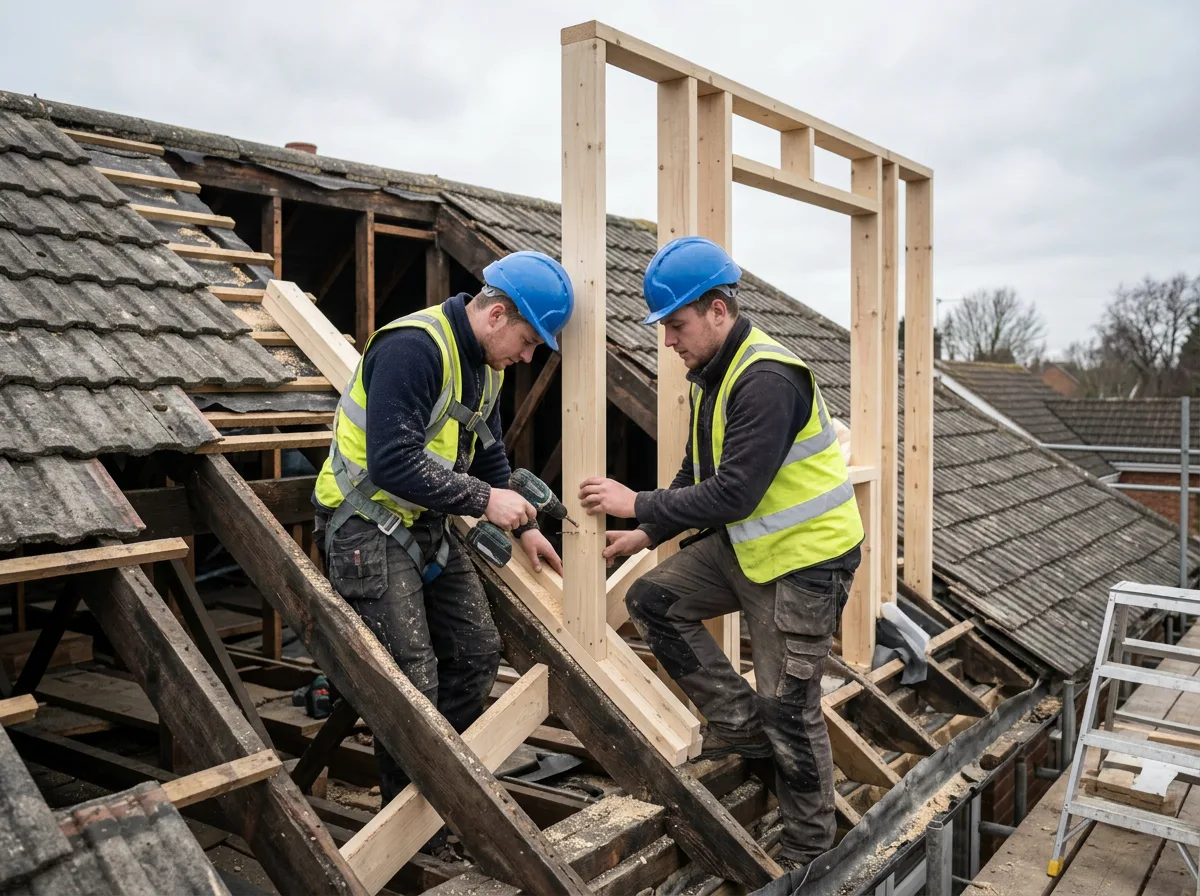
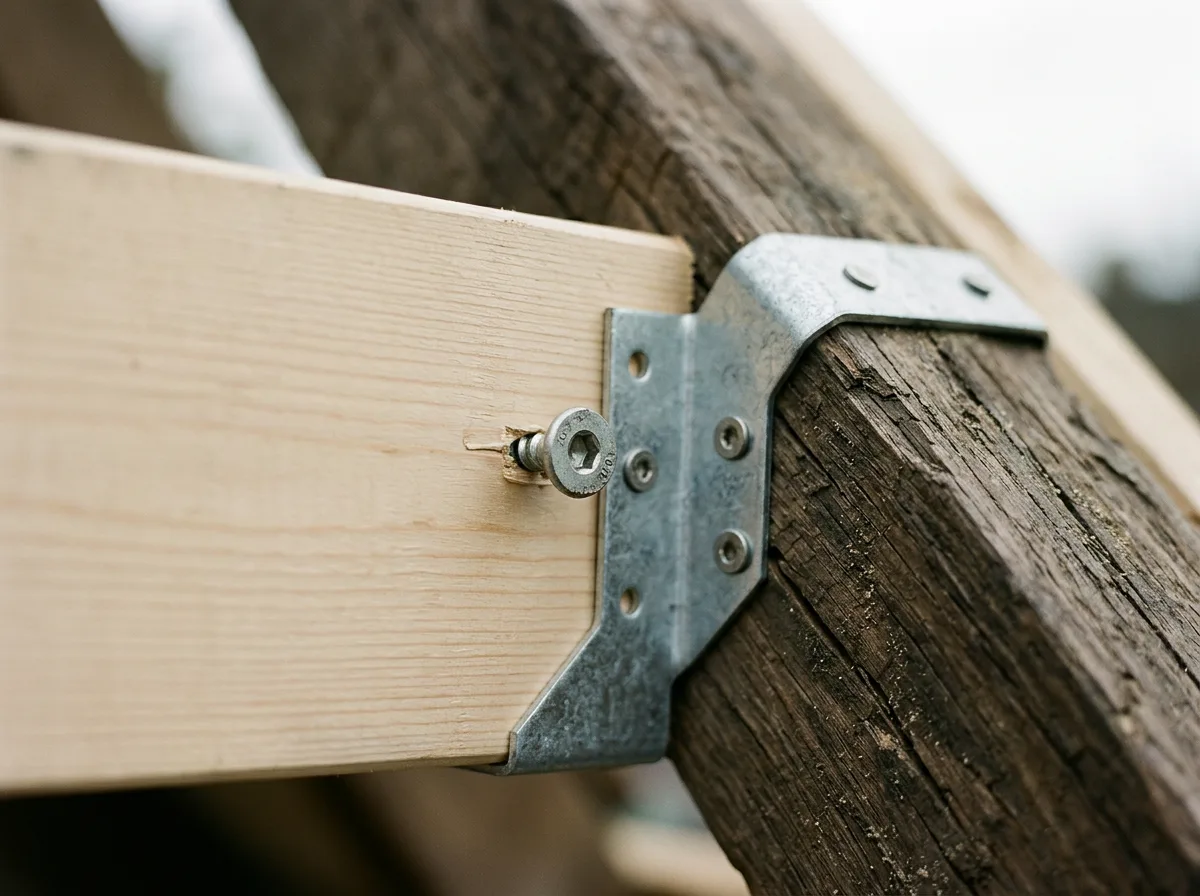
With the line confirmed, the new cheek framing is tied into the existing rafters and trimmers using proper structural connections — not simply fixed alongside the old timber, but genuinely joined to it, so that loads transfer cleanly between new and old. Where the existing structure needs additional support to carry the new dormer safely, that reinforcement is built in at this stage, assessed against the structural specification for the project rather than estimated by eye. This is deliberate, unhurried work: every connection is checked before the next piece of framing goes up.
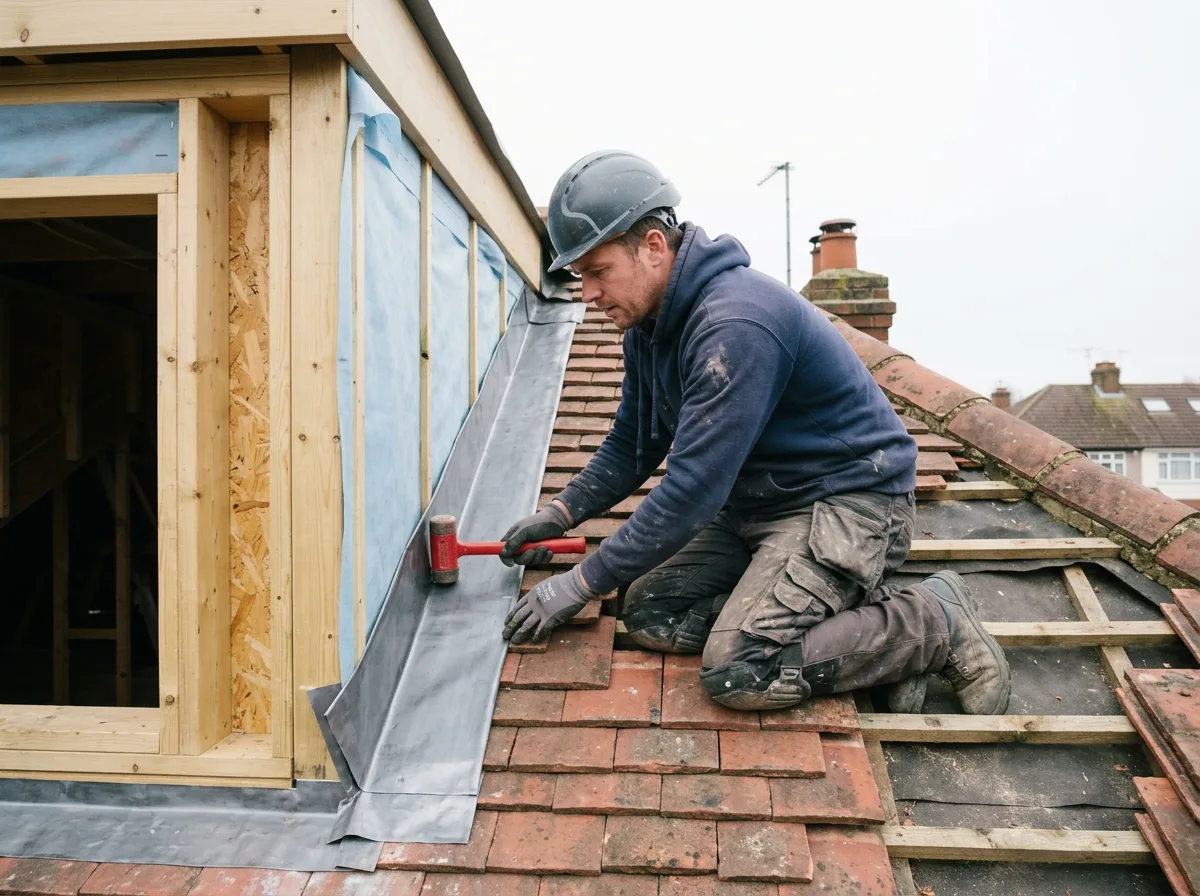
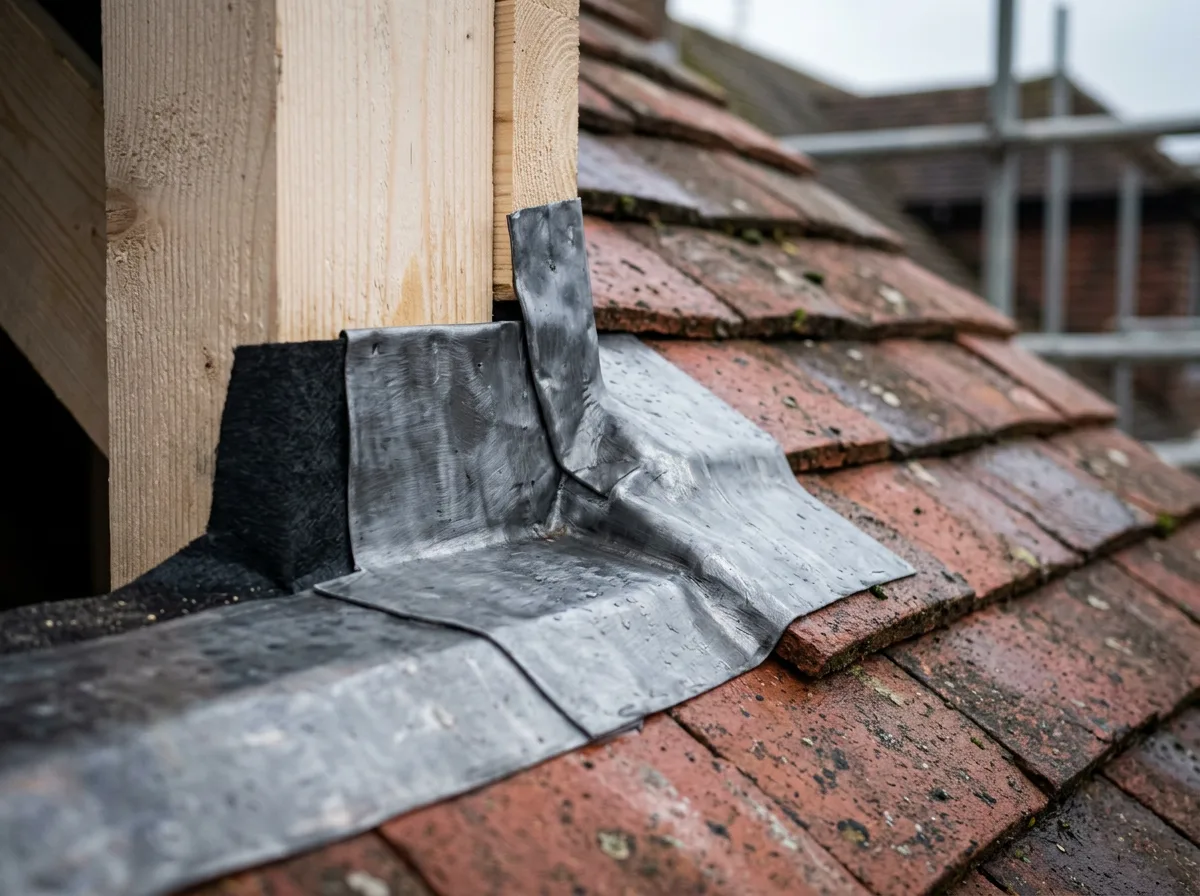
Once the framing is sound, attention turns to the junction itself — the line where old roof covering meets new cheek, and the point at which almost every dormer leak that ever occurs can be traced back to. Flashing is fitted and dressed carefully into the existing roof covering, lapped correctly to shed water rather than invite it in, and the insulation is carried through continuously so that no cold bridge is left at the junction. Only once this detail is right, and checked, is the dormer cheek considered finished.
The Work, Step By Step
A Closer Look
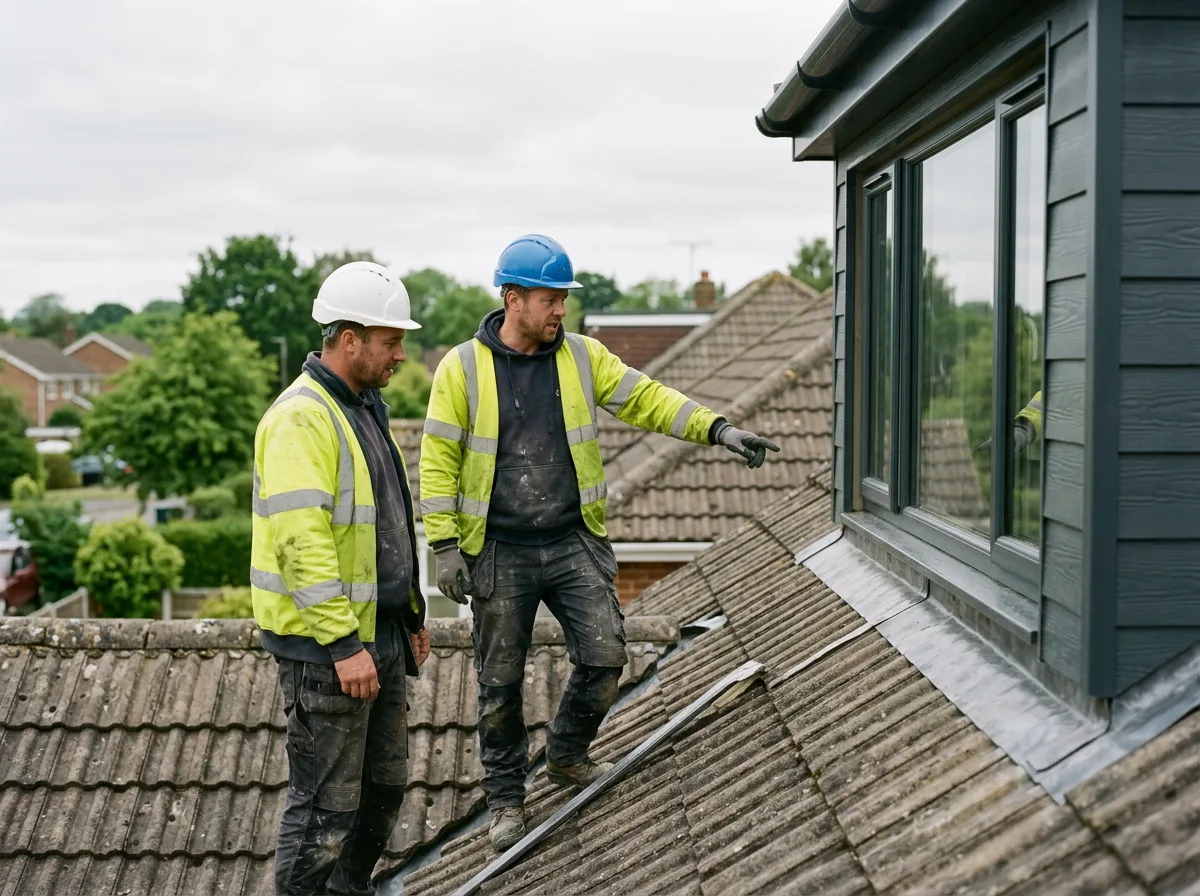
A closer look at the framing and weatherproofing involved in tying a new dormer cheek into an existing roof.
Specification
Materials & Approach
- Cheek frame timber sized to the structural specification for the dormer, not a standard off-the-shelf assumption
- Flashing and weatherproofing detailing dressed carefully into the existing roof covering at the tie-in junction
- Connections to the existing rafters and trimmers made using proper structural fixings suited to the loads involved
- Insulation carried through continuously across the junction, with no cold bridge left between old and new structure
- The opening protected and kept weathertight throughout the works, rather than left exposed between stages
- No structural calculations assumed on site — framing follows the approved specification for the project
Common Questions
Dormer Cheek Framing — Frequently Asked Questions
How is new dormer cheek framing tied into an old roof without weakening it?
The existing rafters and trimmers around the opening are assessed first, and the new cheek framing is connected to them using proper structural fixings at every point of contact — not simply butted up and nailed. Where the existing roof structure needs additional support to carry the new loads, that is built in as part of the framing, not left to the new timber alone. The result is a junction that is, structurally, stronger than the two separate parts it joins.
Is this junction a common place for leaks if it is done badly?
Yes — the tie-in between new dormer cheek framing and the existing roof is one of the most common places for a dormer to leak if the flashing detail is rushed or wrong. The framing itself is rarely the problem; a leak nearly always traces back to flashing that was not dressed correctly into the existing roof covering, or a junction that was not made properly weathertight before the external finish went on. We treat this detail as the single most important part of the job.
Does this kind of work need Building Control sign-off?
Dormer cheek framing that ties into an existing structural roof is building work that falls under Building Regulations, and is typically covered either by your Building Control application or by a Building Notice, depending on how the wider loft conversion is being managed. We work to the structural specification that has been approved for your project and liaise with Building Control or your surveyor as required — this is confirmed as part of the quote, not left as an assumption.
How long does dormer cheek framing typically take?
For a single dormer cheek, tying new framing into the existing roof and fitting the flashing at the junction is usually a two to three day job, weather and access permitting. A dormer with two cheeks, or one that needs more extensive work to the surrounding existing structure, takes longer. An accurate time estimate is confirmed on site, not guessed from photographs.
Why not just build the dormer cheek independently of the existing roof?
An independent cheek with no proper tie-in might stand up in the short term, but it will move differently to the existing roof under wind load, thermal movement, and settlement — and that differential movement is exactly what opens up cracks, gaps, and leaks at the junction over time. Tying the new framing into the existing structure means the whole roof moves as one, which is the entire point of doing it properly.
Does the insulation stay continuous across the junction?
It should, and that is part of what we plan for before any framing goes in. Insulation is carried through from the existing roof build-up into the new dormer cheek without a cold bridge or a gap at the junction, since a break in insulation continuity at exactly this point is a common cause of condensation and heat loss in otherwise well-insulated loft conversions.
Can this work be done without stripping the whole roof?
In the large majority of cases, yes. The roof covering is only opened up in the area immediately around the new dormer, with the opening protected and weatherproofed as the work progresses. A full re-roof is occasionally recommended where the existing covering is already worn or nearing the end of its life, but that is a separate conversation, not a requirement of the dormer work itself.
Do you offer any guarantee on dormer cheek framing and the tie-in work?
Yes — all structural carpentry and weatherproofing work of this kind is covered by our standard workmanship guarantee, confirmed in writing with your quote. Given how much rests on this junction being right, it is also the detail we are most careful to get right the first time.
Related Projects
More Loft Conversion Carpentry
Spectacular Dormer Carpentry for a Loft Conversion
A dormer structure framed into an existing roof, creating genuine headroom and floor space in a loft.
Trimmed and Doubled Rafters, Framing a Dormer Opening
Rafters trimmed and doubled either side of a dormer opening, carrying the load the opening interrupts.
Cutting a Structural Opening for a Dormer
A structural opening cut into an existing roof slope, the precise first step of a dormer conversion.
Get Started
Request a Free Quote for Your Loft Conversion
Planning a Dormer as Part of Your Loft Conversion?
Getting the tie-in between new and existing roof structure right is what makes a dormer perform for decades. Get a free quote or arrange a site visit.